Removal
1. Disconnect the battery negative (-) lead (see Section 3). The starter motor is mounted on the crankcase behind the cylinders on the left-hand side.
2. Remove the rear cylinder exhaust downpipe (see Chapter 4).
3. Peel back the rubber terminal cover on the starter motor (see illustration). Unscrew the nut securing the starter lead to the motor and detach the lead.

28.3. Pull back the terminal cover then unscrew the nut (A) and detach the lead. Starter mounting bolts (B)
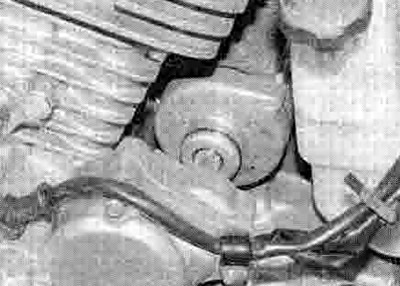
4. Unscrew the two bolts securing the starter motor to the crankcase, noting the earth lead secured by one of the bolts (see illustration 28.3). Slide the starter motor out and remove it (see illustration).

28.4. Slide the starter motor out of the crankcase
5. Remove the О-ring on the end of the starter motor and discard it as a new one must be used.
Installation
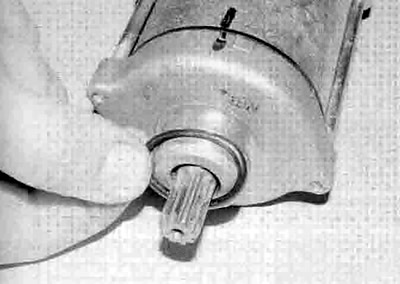
6. Fit a new О-ring onto the end of the starter motor, making sure it is seated in its groove (see illustration). Apply a smear of engine oil to the О-ring to aid installation.

28.6. Fit a new О-ring and lubricate it
7. Manoeuvre the motor into position and slide it into the crankcase (see illustration 28.4). Ensure that the starter motor teeth mesh correctly with those of the starter drive gear. Install the mounting bolts, not forgetting to secure the earth lead, and tighten them securely (see illustration 28.3).
8. Connect the starter lead to the motor and secure it with the nut (see illustration 28.3). Fit the rubber cover over the terminal.
9. Install the rear cylinder exhaust downpipe (see Chapter 4).
10. Connect the battery negative (-) lead.
