Removal
1. Remove the fairing (see Chapter 8).
2. On XL600V-H to P (1987 to 1993) models, undo the three screws securing the headlight retainer and remove it. Draw the headlight out of its bracket, then disconnect the headlight wiring connector and pull the sidelight bulbholder out, and remove the headlight.
3. On XL600V-R to X (1994 to 1999) models and XL650V models, undo the screws or bolts securing the headlight assembly to the fairing and remove the headlight, noting how it fits (see illustrations).
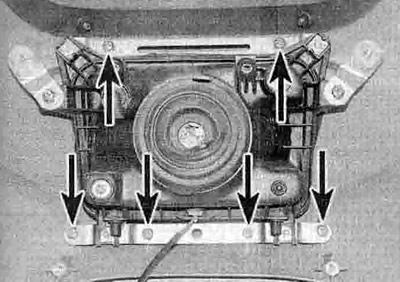
8.3a. Headlight screws (arrowed) - XL600V

8.3b. Headlight bolts (arrowed) - XL650V
4. On XRV750 models, disconnect the sidelight and headlight wiring connectors (see illustration and 7.2c), and release the headlight relay(s) and turn signal relay from their mounts (see illustrations). Support the headlight, then unscrew the two bolts securing the headlight assembly and lift it out of the grommets on the bottom, noting how it fits (see illustrations). Note the collars in the top mounts. Check the rubber grommets for damage, deformation and deterioration and replace them with new ones if necessary.

8.4a. Sidelight wiring connector (arrowed)
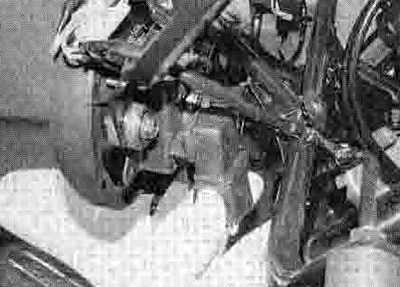
8.4b. Release the LO beam relay...
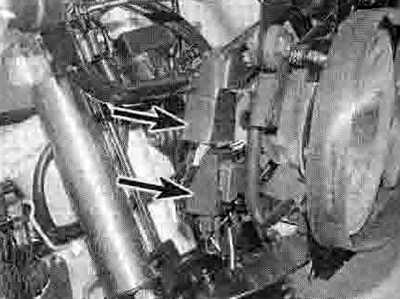
8.4c ...and the HI beam and turn signal relays (arrowed)
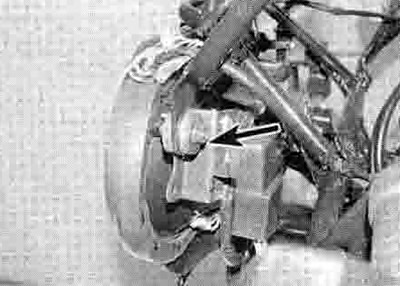
8.4d. Unscrew the bolt (arrowed) on each side...
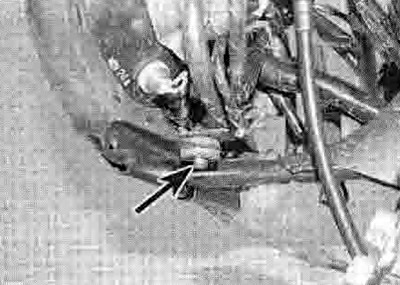
8.4e ...then lift the headlight assembly to clear the peg from the grommet
Installation
5. Installation is the reverse of removal. Make sure all the wiring is correctly connected and secured. Check the operation of the headlight and sidelight. Check the headlight aim (see Chapter 1).
