Note.
- Plastic and painted parts shall be handled with care. Do not score or damage them.
- Operate with care.
- Do not damage keys and/or keyways.
- When sticking decals, carefully follow the instructions listed herebelow.
Recommended tools: Medium-strength spatule (1).
Note. Soft spatules, such as those used on windshield wipers, do not usually sufficiently remove the water under the decal.
sponge or sprayer (2) with water.
Note. Add some detergent (1-3%) to water and then shake it to produce foam bubbles.
To apply decals, proceed as follows:
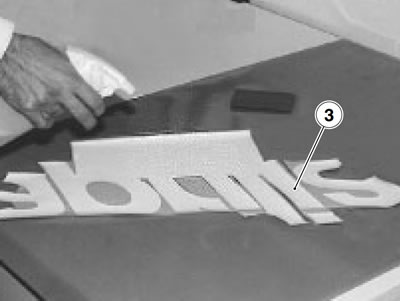
Position the decal (3) in upside-down position on the work bench.
Keep the decal flat and pressed on the work bench and remove the protective film (4) completely.
Note. The use of a sprayer (2) is recommended.

In case you are using a sponge, apply it on the surface without exerting any pressure in order not to damage the adhesive.
Wet the adhesive surface with suds.
Apply the decal (3) on the surface you wish to decorate and position it correctly.
Note. Press the spatule with constant movements, working from the center towards the edge of the decal.
Apply a moderate pressure on the decal surface with the spatule (1) until all the excess soap and water under the decal itself have been completely removed.

Note. Do not lift the decal corners and/or edges.
Using a cloth and working from inwards to outwards, dry the decal.
Use again the spatule. Press as much as possible. Always work starting from the center to the outside and take special care to the corners and edges in order to ensure an even adhesion on the whole surface.
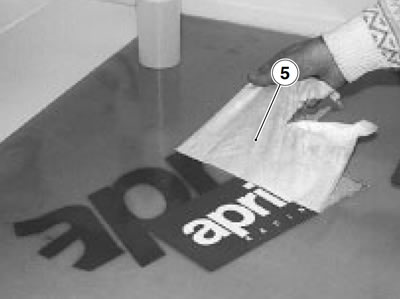
Note. If present, remove the application tape (5) 20 to 30 minutes after applying the decal.
Remove the application tape (5) from the decal surface.
To ensure a good adhesion, use the spatule again by taking special care to the corners and edges.
Note. When using the wet method, the decal final adhesion level will be reached around 48 hours after the application.
After having removed the application tape, make sure that no blisters are present on the surface.
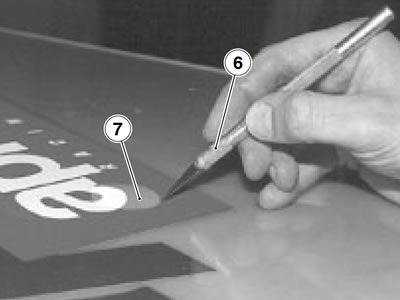
Should some blisters be present, proceed as follows:
Using a pin or a cutter (6) cut the blister (7).
Use the spatule (1) starting from the side opposite to the cut and press the blister to make the air come out.