
Torque wrench settings:
- Screws (2): 3 Nm (0.3 kg·m)
Lift the fuel tank; see 2.9.1.
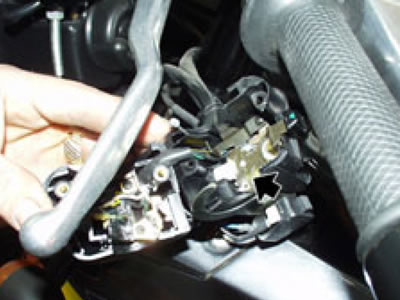
Disconnect the connector (1) of the left-hand light dip switch.

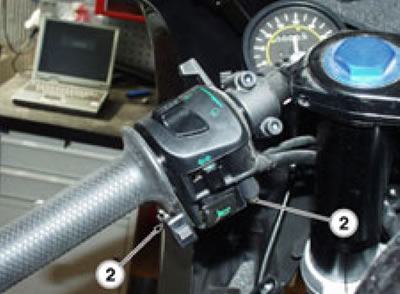
Release and remove the two screws (2) securing the two shells at the bottom end.
Warning! On refitting, position the bottom shell first, making sure the locating peg becomes fully seated into the handlebar hole.
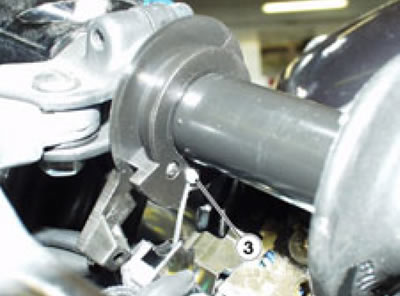
Disconnect the cold-start cable (3).
Release the wiring from the clips and remove the lefthand light dip switch.