
Replacing bearings and seals is done on a removed wheel (see «Rear wheel - removal and installation»).
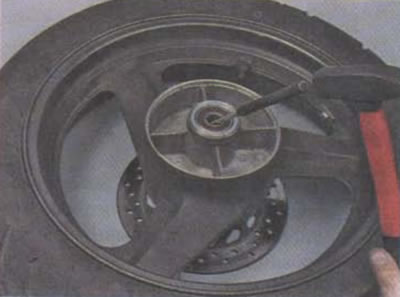
Remove the driven sprocket with the platter from the wheel hub (see «Final drive sprocket hub dampers - check and replace»).
1. Gently prying the sealing ring with a thin slotted screwdriver, remove it from the groove. We check the status. The ring must not have cracks, abrasions or other mechanical damage. If damaged, the ring must be replaced.

2. Pry off the hub seal with a slotted screwdriver and remove it.

3. Having rested the drift against the edge of the hub sleeve, we press out the bearing with light blows of the hammer.
4. Press out the second bearing in the same way.

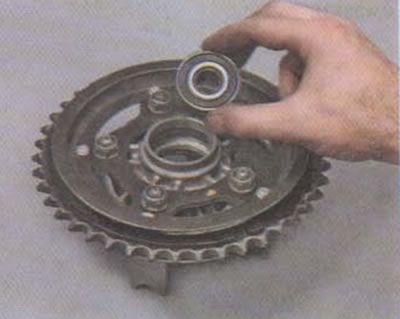
5. Using a mandrel or a tool head of a suitable diameter, we press out the bearing of the driven sprocket platter.

6. Extract bearing.
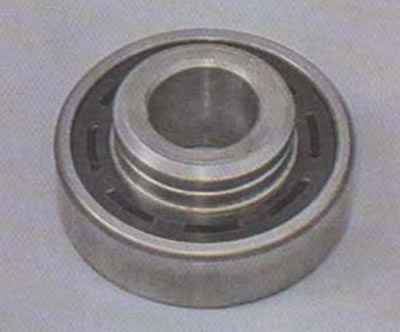
7. Once again we check the bearings for the absence of backlash and jamming during rotation. The bearings must rotate smoothly and without excessive noise.
We press the bearings using mandrels or tool heads of a suitable size, preheating the seating surfaces of the wheel hub with a technical hair dryer. When pressing in, the force must be applied only to the outer ring of the bearing.
Attention! It is not allowed to re-press the bearings into the hub after they have been pressed out. Bearings must only be replaced as a set.