Caution! Always replace both spark plugs even if only one needs replacing.
Remove the saddle.
Remove the side fairings.
In order to reach the spark plugs:
Caution! before carrying out the following operations and in order to avoid burns, leave engine and silencer to cool off to ambient temperature.
Front spark plug
Working on the left side of the vehicle, undo and remove the screw and collect the washer.

Unscrew and remove the screw.

Detach the radiator towards the vehicle right-hand side and lower it so as to be able to work on the coil.
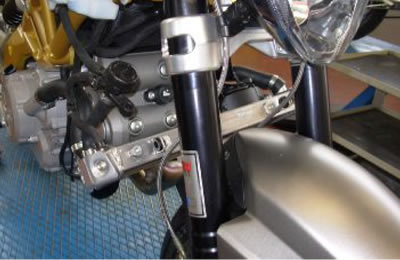
Undo and remove the screw.
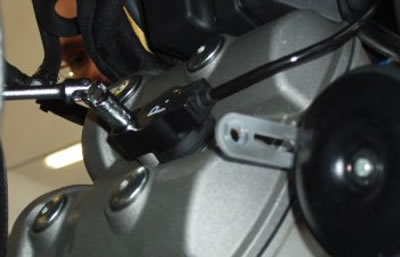
Slide off the front coil.
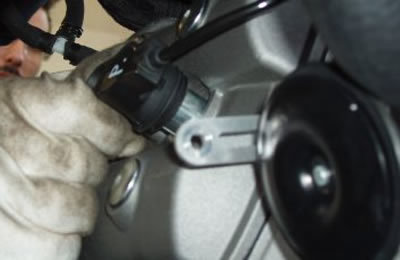
Unscrew and remove the front spark plug.
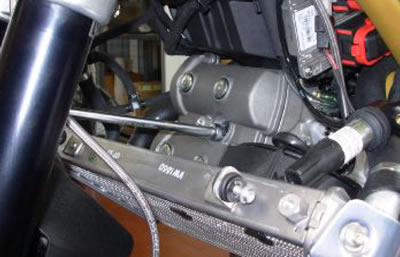
Working from both sides, undo and remove the screw.
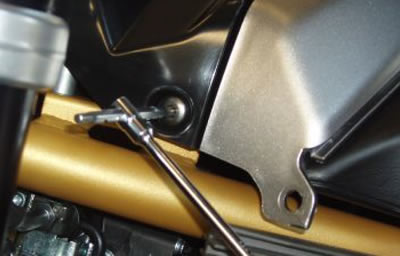
Remove at least one side air duct.
Slide off the ignition switch assembly panel.

Undo and remove the two screws and collect the two collars.
Undo and remove the chamber fixing screws.
Slide off the "too full" and breather pipes from the chamber.
Lift the tank by turning it on the hinge. Release the petrol pipe.
Disconnect the pump cable harness.

Working on the right side, unscrew and remove the nut and slide off the bolt from the left side.

Lift the tank.
Unscrew and remove the rear coil fixing screw.
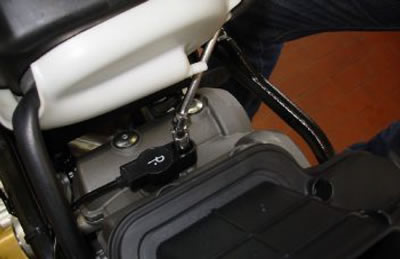
Slide off the rear coil.
Unscrew and slide off the rear spark plug.
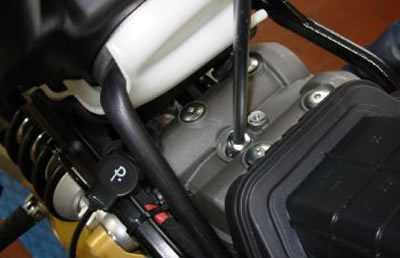
Check the gap between the electrodes with a feeler feeler gauge.
Caution! Do not attempt to readjust the electrode gap.
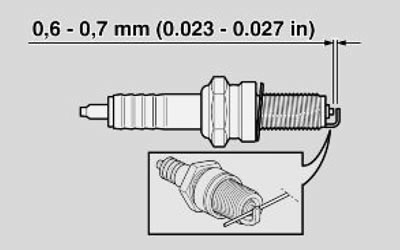
The gap between the electrodes should be between 0.7-0.8 mm (0.027-0.031 in). Otherwise, replace the spark plug (2).
Make sure the washer is in good conditions.

Installation
Once the washer is fitted, screw the spark plug (2) carefully to avoid damaging the thread.
Tighten using the spanner supplied in the tool kit. Make each spark plug (2) complete 1/2 of a turn to compress the washer.
Caution! It is essential to tighten the spark plug (2) properly. A loose spark plug may cause engine overheating and result in severe damage.
Locking torques (N·m):
- Spark plug (2) 13 Nm (9.59 lbf ft)
