Brake. Inspect initially at 1 000 km (600 miles, 2 month) and every 6 000 km (4 000 miles, 12 months) thereafter.
Brake hose and brake fluid. Inspect every 6 000 km (4 000 miles, 12 months). Replace hoses every 4 years. Replace fluid every 2 years.
Brake fluid level check
Keep the motorcycle upright and place the handlebars straight.
Check the brake fluid level by observing the lower limit lines on the front and rear brake fluid reservoirs.
When the level is below the lower limit line, replenish with brake fluid that meets the following specification.
- Specification and Classification: DOT 4
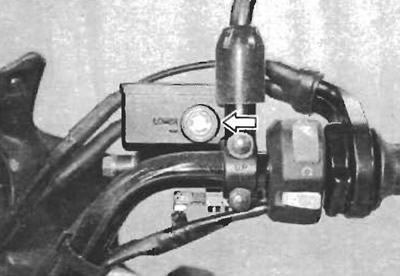
Warning! The brake system of this motorcycle is filled with a glycol-based brake fluid. Do not use or mix different types of fluid such as silicone-based or petroleum-based. Do not use any brake fluid taken from old, used or unsealed containers. Never re-use brake fluid left over from the last servicing or stored for a long period.
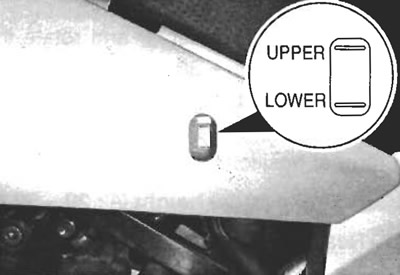
Warning! Brake fluid, if it leaks, will interfere with safe running and immediately discolor painted surfaces. Check the brake hoses and hose joints for cracks and oil leakage before riding.
Brake pads
Remove the brake caliper. (Front)
The extent of brake pad wear can be checked by observing the grooved limit (A) on the pad. When the wear exceeds the grooved limit, replace the pads with the new ones. (7-59 and 7-69)
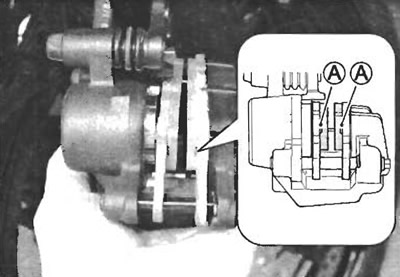
Caution! Replace the brake pad as a set, otherwise braking performance will be adversely affected.
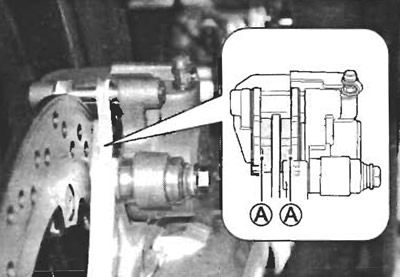
Brake pedal height
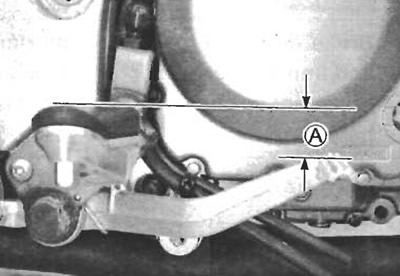
Loosen the lock-nut (1) and rotate the push rod (2) to locate brake pedal 20-30 mm (0.59-0.98 in) (A) below the top face of the footrest.
Retighten the lock-nut (1) to secure the push rod (2) in the proper position.
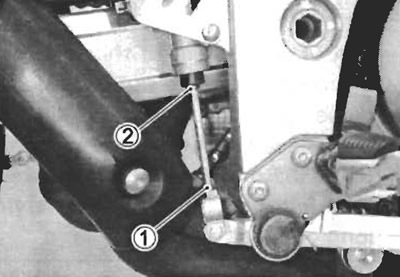
- Brake pedal height (A): 20-30 mm (0.79-1.18 in)
- Rear brake master cylinder rod lock-nut (1): 17 N·m (1.7 kgf·m, 12.5 lb·ft)
Rear brake switch
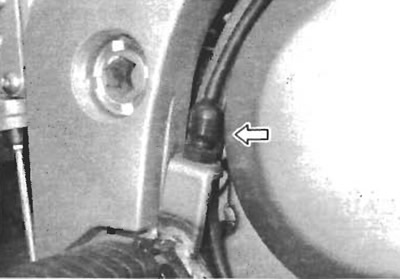
Adjust the rear brake switch so that the brake light will come on just before pressure is felt when the brake pedal is depressed.
Air bleeding the brake fluid circuit
Air trapped in the fluid circuit acts like a cushion to absorb a large proportion of the pressure developed by the master cylinder and thus interferes with the full braking performance of the brake caliper. The presence of air is indicated by "sponginess" of the brake lever and also by lack of braking force. Considering the danger to which such trapped air exposes the machine and rider, it is essential that, after remounting the brake and restoring the brake system to the normal condition, the brake fluid circuit be purged of air in the following manner:
Fill up the master cylinder reservoir to the "UPPER" line. Place the reservoir cap to prevent entry of dirt.
Attach a pipe to the air bleeder valve, and insert the free end of the pipe into a receptacle.
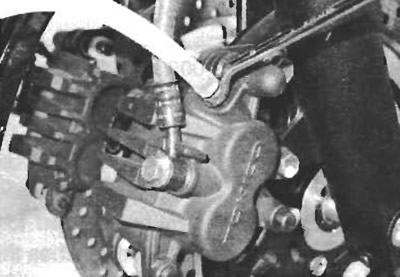
- Air bleeder valve (Front): 7.5 N·m (0.75 kgf·m, 5.5 lb·ft)
- Air bleeder valve (Rear): 6 N·m (0.6 kgf·m, 4.3 lb·ft)
Front brake: Bleed the air from the air bleeder valve.
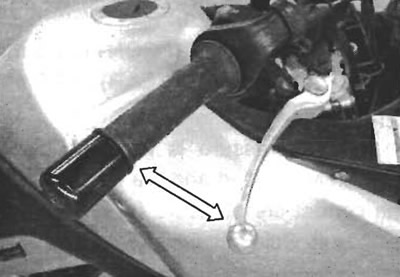
Squeeze and release the brake lever several times in rapid succession and squeeze the lever fully without releasing it. Loosen the bleeder valve by turning it a quarter of a turn so that the brake fluid runs into the receptacle; this will remove the tension of the brake lever causing it to touch the handlebar grip. Then, close the valve, pump and squeeze the lever, and open the valve. Repeat this process until the fluid flowing into the receptacle no longer contains air bubbles.
Note: Replenish the brake fluid in the reservoir as necessary while bleeding the brake system. Make sure that there is always some fluid visible in the reservoir.
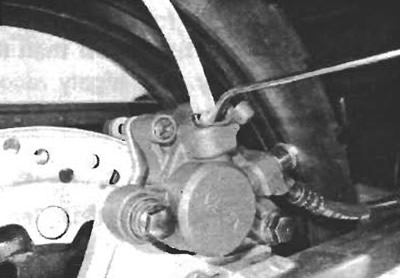
Close the bleeder valve, and disconnect the pipe. Fill the reservoir with brake fluid to the "UPPER" line.
Caution! Handle brake fluid with care: the fluid reacts chemically with paint, plastics, rubber materials and so on.
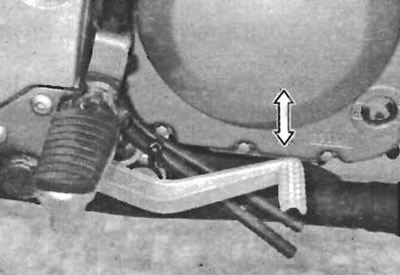
The only difference between bleeding the front and rear brakes is that the rear master cylinder is actuated by a pedal.
