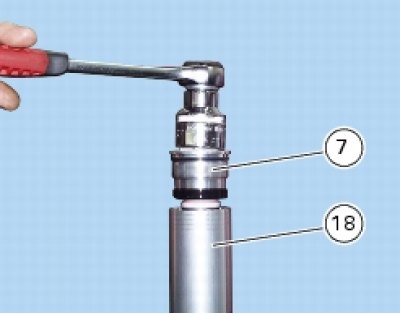
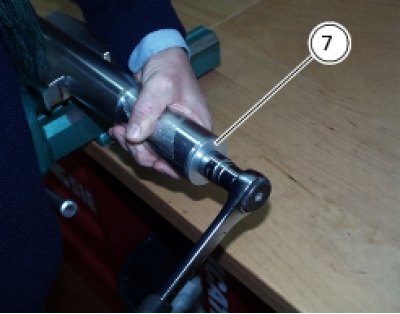
Note: It is advisable to loosen the top cap (7) when the fork is still fitted to the motorcycle.
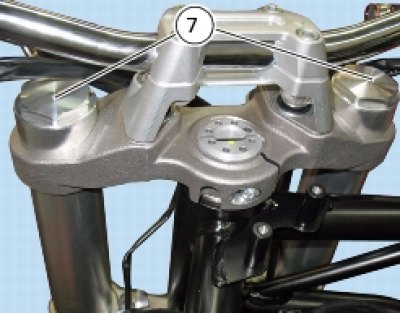
Note: The service tools required for front fork overhaul are listed in Specific tools for the frame.
Disassembly of the front fork right leg
Remove the top cap (7).

Note: The service tools required for front fork overhaul are listed in Specific tools for the frame.
Unscrew the top cap (7).
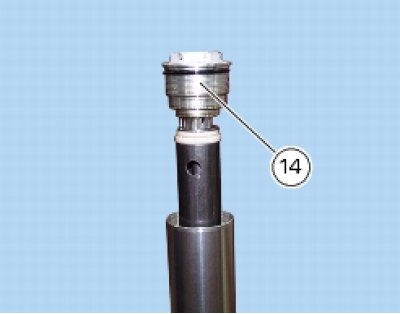
Fit the service tool code no. 88713.0957, engaging its pins (A) in the upper spacer, and secure in place with the screw (B).

Push the tool downwards to compress the spring and then fit the tool spacer (C) under the cartridge lock nut (13).
Apply a wrench to the flats (D) and counterhold the lock nut to loosen the top cap (7).
Remove the cap (7).

Fit service tool no. 88713.0958 and screw it onto the damper rod.
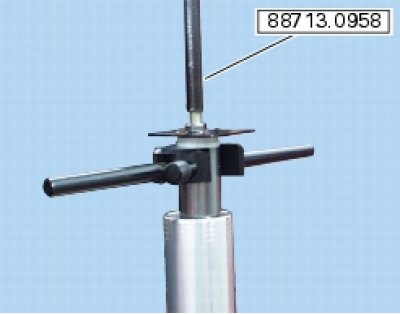
Push downwards to overcome the force of the spring and remove the spacer (C).

Remove the service tool no. 88713.0957 and slide out the preload tube (12).
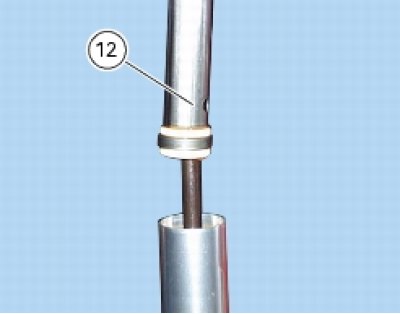
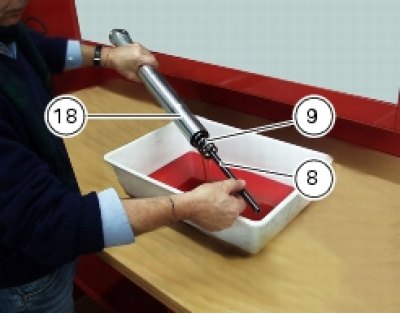
Remove the spring (9) and pump the outer tube (18) and the damper (8) to expel the oil from the fork.
Warning! This movement generates pressure so that the oil will be rapidly expelled from the fork.
Aim the jet of oil into a previously prepared container and avoid contact with fork oil.
Clamp the inner tube (6) in a vice with soft-faced jaws.
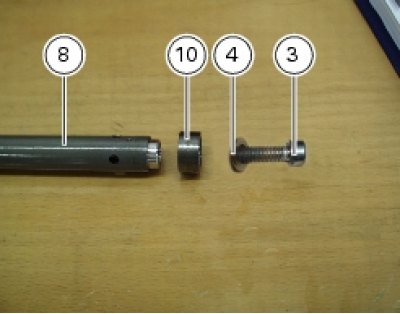
Unscrew the screw (3).
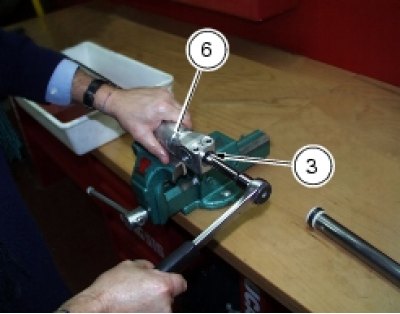
Remove the adjuster screw (3) and recover the seal (4).
Remove the complete damper assembly (8) and locating ring (10).
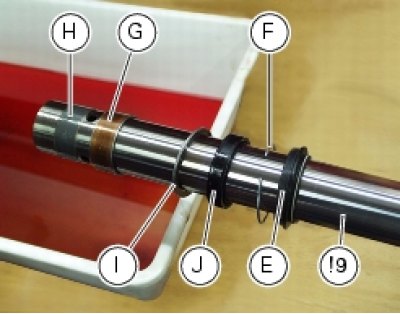
Slide the dust seal (E) off the outer tube (18), prising it off with a screwdriver.

Remove the circlip (F).

Caution! Take care not to damage the outer tube (18) or inner tube (6).
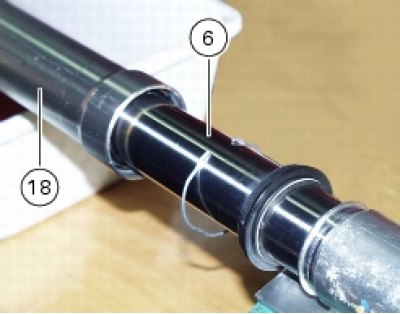
To separate the outer tube (18) from the inner tube (6), pull the inner tube sharply outwards repeatedly to gradually displace the bottom bush (G).
Insert the tip of a screwdriver in the slit in the bush (H) and open it up sufficiently to slide the bush off the inner tube.
Remove the following parts from the inner tube (6):
- bush (G)
- ring (I)
- seal (J)
- circlip (F)
- dust seal (E).

Disassembly of the front fork left leg
Unscrew the top cap (7).
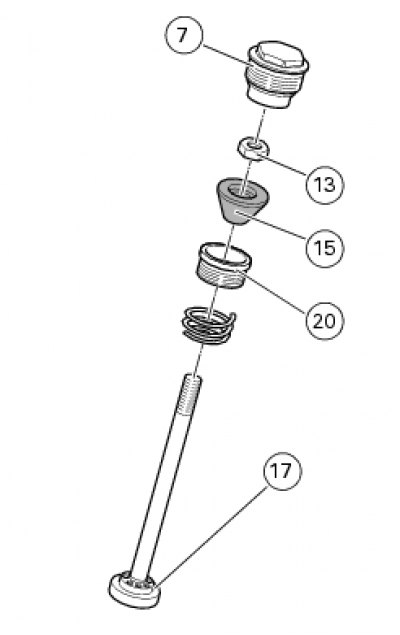
Remove the top cap (7) complete with nut (13), rubber bush (15), bush (20), spring and complete damper asembly (17).
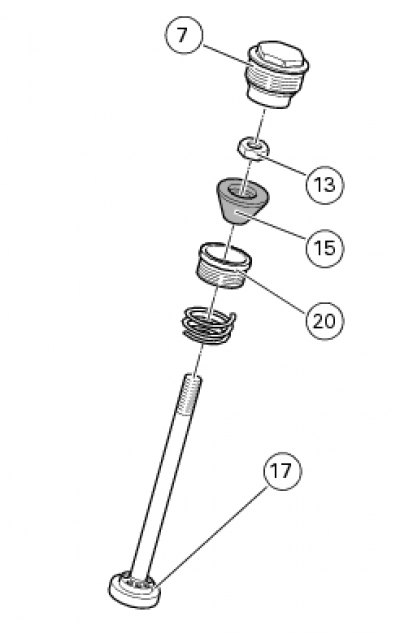
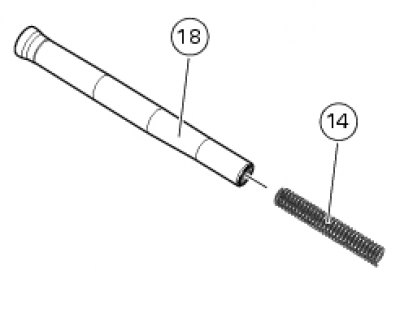
Remove the spring (14) and pump the outer tube (18) to expel the oil from the fork leg.
Warning! This movement generates pressure so that the oil will be rapidly expelled from the fork.
Aim the jet of oil into a previously prepared container and avoid contact with fork oil.
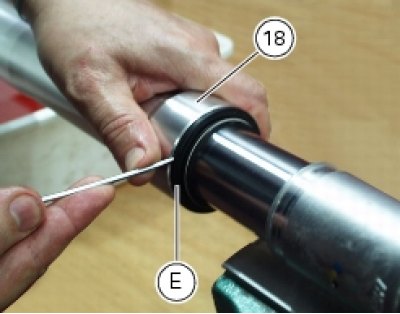
Slide the dust seal (E) off the outer tube (18), prising it off with a screwdriver.
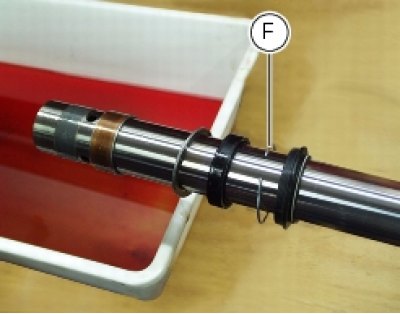
Remove the circlip (F).
Caution! Take care not to damage the outer tube (18) or inner tube (19).
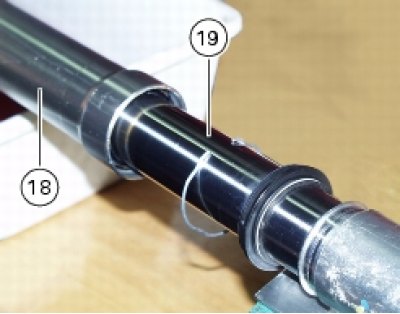
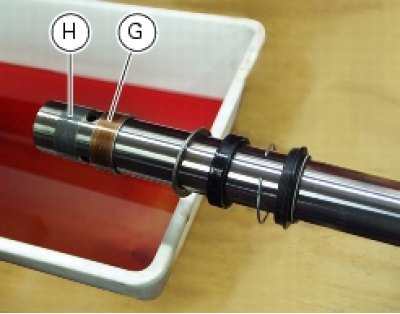
To separate the outer tube (18) from the inner tube (19), pull the inner tube sharply outwards repeatedly to gradually displace the bottom bush (G).
Insert the tip of a screwdriver in the slit in the bush (H) and open it up sufficiently to slide the bush off the inner tube.
Remove the following parts from the inner tube (19):
- bush (G)
- ring (I)
- seal (J)
- circlip (F)
- dust seal (E).
Inspection of the front fork right leg
Place the spring on a flat surface and measure the free length (L).

Service limit: 270 mm.
Renew the spring if the length is not within the specified limit.
Inspect the outer surfaces of both fork inner tubes and the internal surfaces of both outer tubes. They must be free from scoring, steps, or dents.
Check that the outer tubes are straight: maximum permissible error 0.10 mm.
Whenever the inner tube is removed from the outer tube it is good practice to renew the bushes (G) and (H).

Reassembly of the front fork right leg
Locate the outer tube (18) on the inner tube (6).
Insert the locating bush (10).
Insert the damper assembly (8).

Fit the seal (4) and tighten the adjuster screw (3).

Hold the right fork leg assembly (2) in a vertical position and fill with fork oil, using 500±2.5 cc of the specific oil.
Check the quantity of oil measuring the distance of the level from the end of the outer tube (18).
This distance should be 81 mm.
Clean off any oil from spring (9) and upper spacer (12) before assembly.
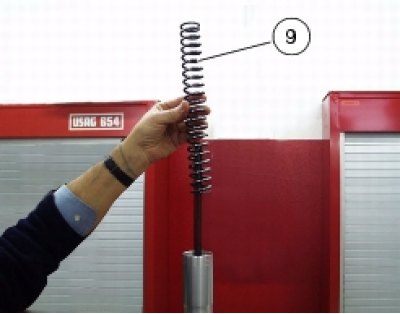
Note: Install the spring (9), ensuring that the end with tighter coils is towards the bottom of the fork.
Fit the following components:
- spring (9);
- upper spacer (12).

Fit service tool 88713.0957 (previously used for removal) into the lateral hole of the upper spacer (12).
Push the tool down and position the spacer (D) under the lock nut of the damper (8).
Remove service tool no. 88713.0958.
Screw the top cap (7) onto the damper (8).
Using a hex wrench, hold the rebound damping adjuster (E) and tighten the top cap to 30 to 40 Nm.
Remove the spacer (C) by pushing the tool no. 88713.0957, downwards.
Warning! The adjuster on the top cap (7) should be screwed fully onto the thread of the damper (8).
Lift the outer tube (18) and tighten the top cap (7) to a torque of 30 to 40 Nm.
Set the adjusters according to riding requirements.


Inspection of the front fork left leg
Place the spring on a flat surface and measure the free length (L).
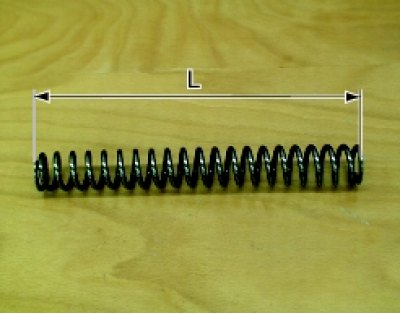
Service limit: 270 mm.
Renew the spring if the length is not within the specified limit.
Inspect the outer surfaces of both fork inner tubes and the internal surfaces of both outer tubes. They must be free from scoring, steps, or dents.
Check that the outer tubes are straight: maximum permissible error 0.10 mm.
Whenever the inner tube is removed from the outer tube it is good practice to renew the bushes (G) and (H).
Reassembly of the front fork left leg
Locate the outer tube (18) on the inner tube (19).
Before reassembly, remove any oil from the spring (14).
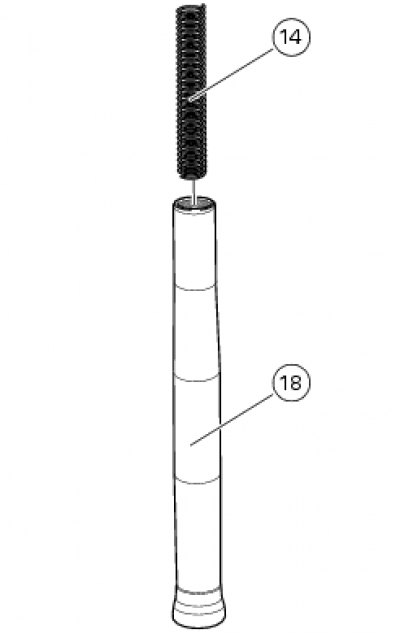
Note: Install the spring (14), ensuring that the end with tighter coils is towards the bottom of the fork.
Hold the left fork leg assembly (2) in a vertical position and fill with fork oil, using 538±2.5 cc of the specific oil.
Refit the top cap (7) complete with nut (13), rubber bush (15), bush (20), spring and complete damper assembly (17) on the outer tube (18) and tighten to the specified torque.
