Overhauling the cylinder
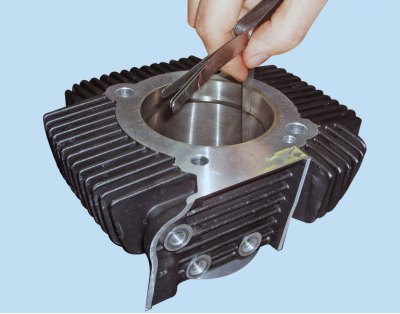
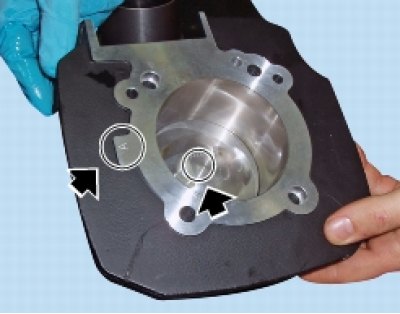
Check that the walls of the cylinder bore are perfectly smooth. Measure the cylinder bore diameter (D) at three different heights and in two directions offset by 90°, thereby determining the assembly clearance, taper, and ovality (see specified values in Cylinder/Piston).
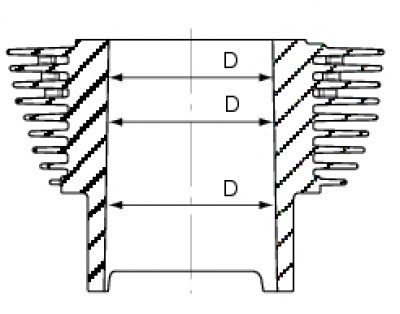

In the event of damage or excessive wear the barrel must be renewed as it has a silicon carbide coating (which provides the cylinder walls with excellent anti-friction and anti-wear properties) and therefore cannot be rebored.
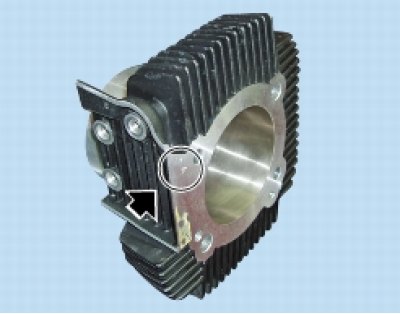
The cylinders are marked by a letter (punched into the specific surface on the cylinder side) showing the class to which they belong.
Always match cylinders with pistons from the same size class.
Overhaul of the piston

Clean the piston crown and piston ring grooves, removing any carbon deposits.
Inspect the piston and check its dimensions carefully: there must be no signs of scuffing, scoring, cracks, or other damage.
Check the piston diameter.
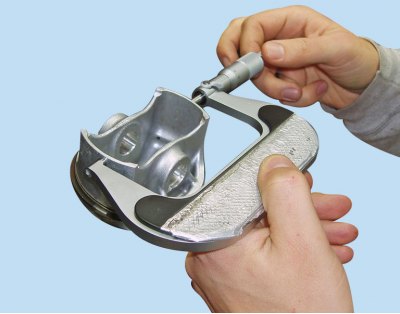
The pistons must always be renewed as a pair.
Piston-cylinder clearance
The pistons are marked with a letter (punched into the piston crown) that indicates the size class to which they belong.
Always match cylinders with pistons from the same size class.
For the values, refer to (Cylinder/Piston).

Overhauling the gudgeon pins

Gudgeon pins must be perfectly smooth without signs of scoring, steps, or blueing due to overheating. The well-lubricated gudgeon pin must slide smoothly inside the piston without stiffness.
The assembly clearance with the piston at the time of installation must be 0.002 to 0.008 mm.
The maximum permissible wear limit is 0.035 mm.
If a new gudgeon pin is fitted, you must also change the connecting rod small end bush.
Overhauling the piston rings
The piston rings must not show any signs of scuffing or scoring. Replacement pistons are supplied complete with piston rings and gudgeon pin.
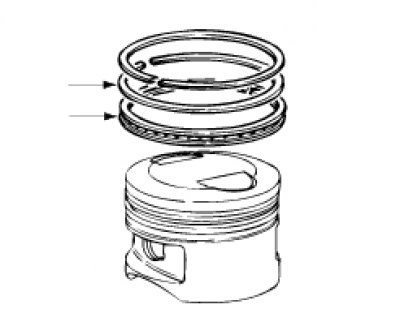
Piston ring-to-groove clearance

The maximum permissible wear limit is 0.15 mm for the top compression ring (1st) and 0.10 mm for the others (2nd and oil control ring).
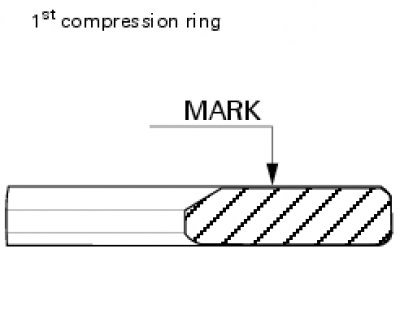

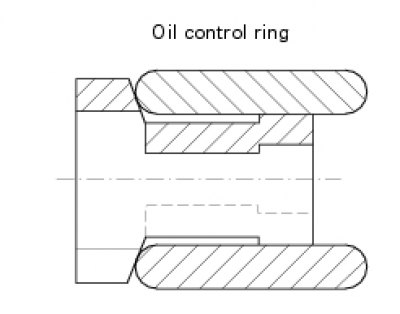
Note: The piston rings must always be installed with markings facing upwards.
Gudgeon pin-piston clearance
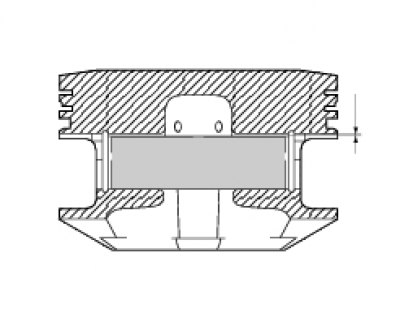
Measure the diameter of the gudgeon pin bore in the piston.
Measure the diameter of the gudgeon pin.
Maximum wear limit: 0.025 mm.
Note: If you fit a new gudgeon pin, you must also change the connecting rod small end bush.


Piston ring-to-bore clearance
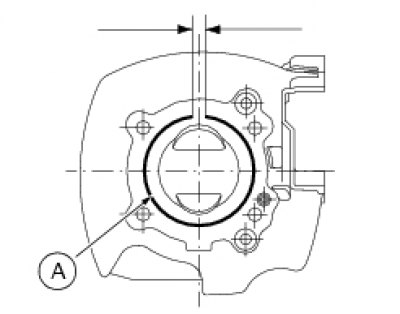
It is essential that the measurement be performed with the piston ring (A) positioned perfectly square in the cylinder. For this reason, the piston (9) should be inserted in the cylinder without piston rings fitted and then place the piston ring to be checked on top of the piston.
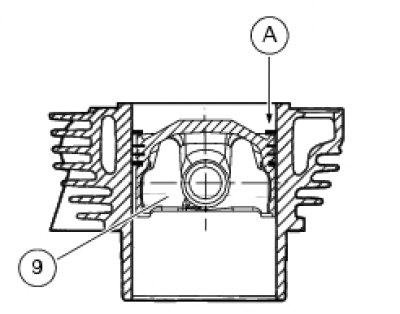
Measure the piston ring gap:
- Top and second piston ring (nominal): 0.20 to 0.40 mm.
- Wear limit: 0.80 mm.
- Oil control ring (nominal): 0.030 to 0.060 mm.
- Wear limit: 1.0 mm.
