Front wheel bearings
Note: Always replace the wheel bearings in pairs. Never replace the bearings individually. Avoid using a high pressure cleaner on the wheel bearing area.
1. Remove the wheel, and if not already done remove the speedometer drive housing and spacer from it (see Section 13).
2. Set the wheel on blocks so as not to allow the weight to rest on the brake disc.
3. Prise out the seal on the left-hand side of the wheel using a flat-bladed screwdriver, taking care not to damage the rim of the hub, then turn the wheel over and remove the seal from the right-hand side (see illustration). Discard the seals as new ones should be used. Remove the speedometer drive plate from the right-hand side of the wheel, noting how it locates (see illustration).
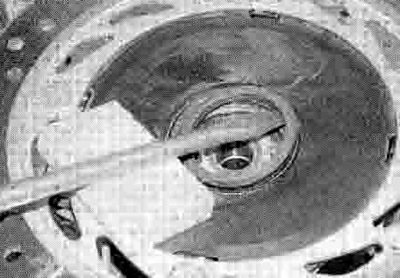
15.3a. Lever out the grease seal on each side
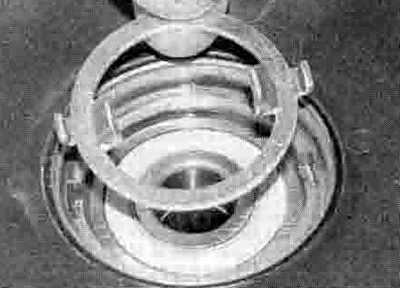
15.3b. Remove the speedometer drive plate, noting how it fits
4. Using a metal rod (preferably a brass drift punch) inserted through the centre of the upper bearing, tap evenly around the inner race of the lower bearing to drive it from the hub (see illustrations). The bearing spacer will also come out.
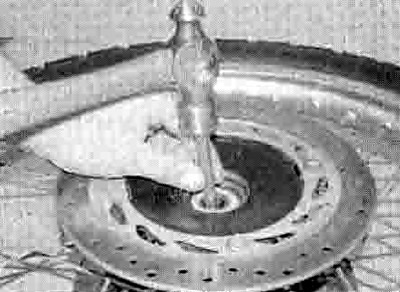
15.4a. Knock out the bearings using a drift...

15.4b ...locating it as shown
5. Lay the wheel on its other side so that the remaining bearing faces down. Remove the seal and drive the bearing out of the wheel using the same technique as above.
6. If the bearings are of the unsealed type or are only sealed on one side, clean them with a high flash-point solvent (one which won't leave any residue) and blow them dry with compressed air (don't let the bearings spin as you dry them). Apply a few drops of oil to the bearing.
Note: If the bearing is sealed on both sides don't attempt to clean it.
7. Hold the outer race of the bearing and rotate the inner race - if the bearing doesn't turn smoothly, has rough spots or is noisy, replace it with a new one.
8. If the bearing is good and can be re-used wash it in solvent once again and dry it, then pack the bearing with grease if it is of the unsealed type.
9. Thoroughly clean the hub area of the wheel. Install the left-hand bearing into the recess in the hub, with the marked or sealed side facing outwards. Using the old bearing (if new ones are being fitted), a bearing driver or a socket large enough to contact the outer race of the bearing, drive it in until it's completely seated (see illustration).
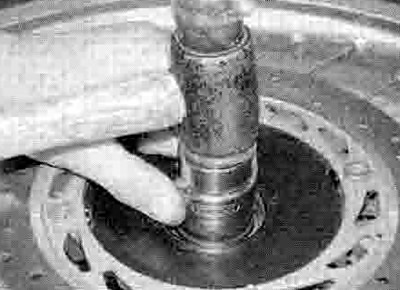
15.9. A socket can be used to drive in the bearing
10. Turn the wheel over and install the bearing spacer. Drive the other bearing into place as described above.
11. Fit the speedometer drive plate into the right-hand side of the wheel, locating the tabs in the cutouts in the hub (see illustration 15.3b). Apply a smear of grease to the lips of the seals, then press them into the wheel (see illustration). Gently drive them into place if necessary using a seal or bearing driver, a suitable socket or a piece of wood (see illustration).
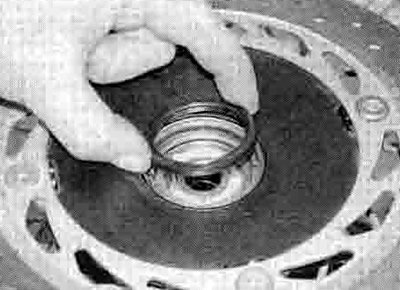
15.11a. Fit the grease seal and press it into place...
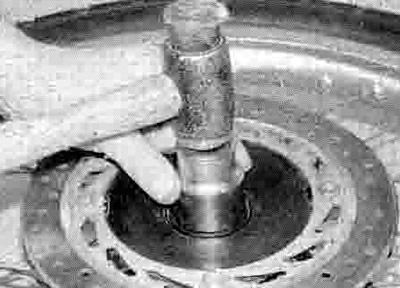
15.11b ...or use a socket to drive it in if necessary
12. Clean off all grease from the brake discs using acetone or brake system cleaner then install the wheel (see Section 13).
Rear wheel bearings
13. Remove the rear wheel, and if not already done remove the spacers from it (see Section 14). Lift the sprocket coupling out of the lefthand side of the wheel, noting how it fits (see illustration). On XL600V-H to L (1987 to 1990) models, lift the brake plate assembly out of the right-hand side of the wheel, noting how it fits.
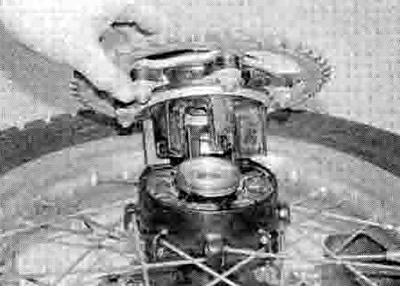
15.13. Lift the sprocket coupling out of the wheel
14. Set the wheel on blocks so as not to allow the weight of the wheel to rest on the brake disc.
15. On all except XL600V-H to L (1987 to 1990) models, lever out the grease seal on the right-hand side of the wheel using a flat-bladed screwdriver, taking care not to damage the rim of the hub (see illustration).

15.15. Lever out the grease seal
Discard the seal as a new one should be used.
16. Using a metal rod (preferably a brass drift punch) inserted through the centre of the right-hand bearing, tap evenly around the Inner race of the left-hand bearing to drive it from the hub (see illustrations 15.4a and b). The bearing spacer will also come out.
17. Lay the wheel on its other side so that the remaining bearing faces down. Drive the bearing out of the wheel using the same technique as above (see illustration).
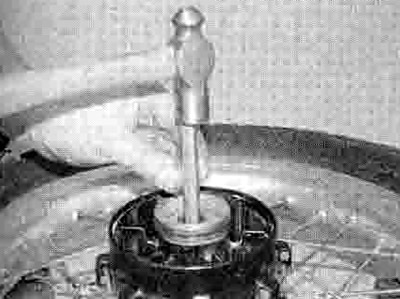
15.17. Drive the bearings out as described
18. Refer to Steps 6 to 8 above and check the bearings.
19. Thoroughly clean the hub area of the wheel. First install the right-hand bearing into its recess in the hub, with the marked or sealed side facing outwards. Using the old bearing (if new ones are being fitted), a bearing driver or a socket large enough to contact the outer race of the bearing, drive it in squarely until it's completely seated (see illustration 15.9).
20. Turn the wheel over and install the bearing spacer. Drive the left-hand side bearing into place as described above (see illustration).
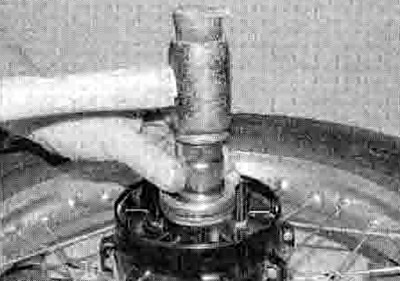
15.20. A socket can be used to drive in the bearing
21. Check the condition of the hub О-ring and renew it if it is damaged, deformed or deteriorated (see illustration).

15.21. Check the О-ring and fit a new one if necessary
22. On all except XL600V-H to L (1987 to 1990) models, apply a smear of grease to the lips of the new grease seal, and press it into the right-hand side of the wheel, using a seal or bearing driver, a suitable socket or a piece of wood to drive it into place if necessary (see illustration).

15.22. Fit the grease seal and press or tap It into place
23. Clean off all grease from the brake disc using acetone or brake system cleaner. Fit the sprocket coupling assembly onto the wheel (see illustration 15.13). On XL600V-H to L (1987 to 1990) models, fit the brake plate assembly into the wheel. Install the wheel (see Section 14).
Sprocket coupling bearing
24. Remove the rear wheel, and if not already done remove the spacer(s) from it (see Section 14). Lift the sprocket coupling out of the wheel, noting how it fits (see illustration 15.13).
25. Using a flat-bladed screwdriver, lever out the grease seal from the outside of the coupling (see illustration).
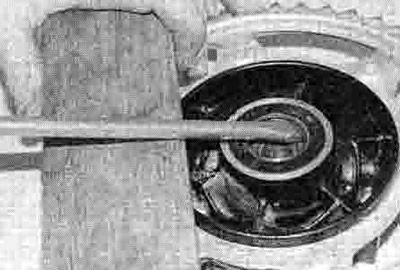
15.25. Lever out the grease seal
26. Remove the spacer from the inside of the coupling bearing, noting which way round it fits. The spacer could be a tight fit and may have to be driven out from the outside using a suitable socket or piece of tubing (see illustration). Support the coupling on blocks of wood to do this.
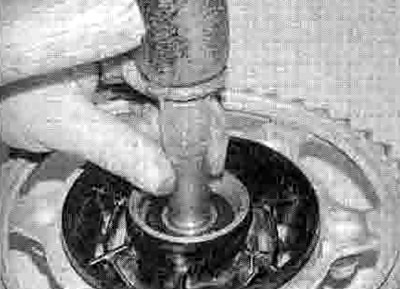
15.26. Drive out the spacer...
27. Support the coupling on blocks of wood and drive the bearing out from the inside using a bearing driver or socket (see illustration).

15.27 ...then drive out the bearing
28. Refer to Steps 6 to 8 above and check the bearing.
29. Thoroughly clean the bearing recess then install the bearing into the coupling, with the marked or sealed side facing out. Using the old bearing (if a new one is being fitted), a bearing driver or a socket large enough to contact the outer race of the bearing, drive it in until it is completely seated (see illustration).
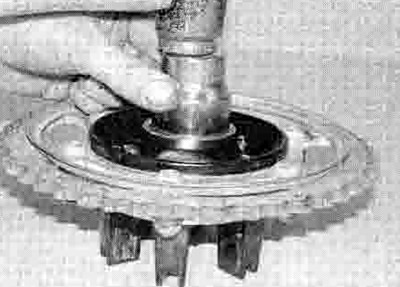
15.29. Drive in the new bearing
30. Fit the spacer into the inside of the coupling, making sure it is the correct way round and fits squarely into the bearing. Drive it into place if it is tight, supporting the bearing inner race on a suitable socket as you do to prevent it from being damaged or driven out at the same time (see illustration).
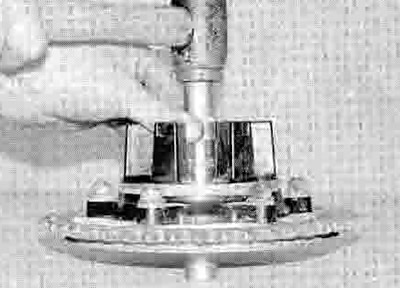
15.30. Support the bearing on a socket when driving in the spacer
31. Check the condition of the hub О-ring and replace it with a new one if it is damaged, deformed or deteriorated (see illustration 15.21).
32. Apply a smear of grease to the lips of the new seal, and press it into the coupling, using a seal or bearing driver, a suitable socket or a flat piece of wood to drive it into place if necessary (see illustration). As the seal sits flush with the top surface of their housing, using a piece of wood as shown will automatically set it flush without the risk of setting it too deep and having to lever it out again (see illustration).
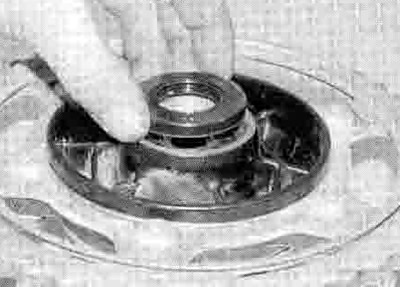
15.32a. Press or drive the seal into the coupling
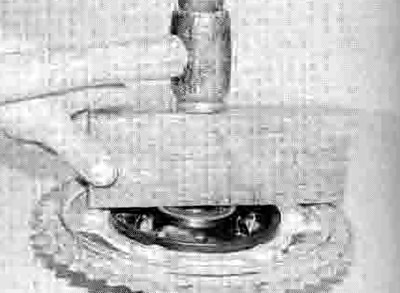
15.32b. Using a piece of wood as shown automatically sets the seal flush
33. Check the sprocket coupling/rubber dampers (see Chapter 6).
34. Clean off all grease from the brake disc using acetone or brake system cleaner. Fit the sprocket coupling into the wheel (see illustration 15.13). then install the wheel (see Section 14).
