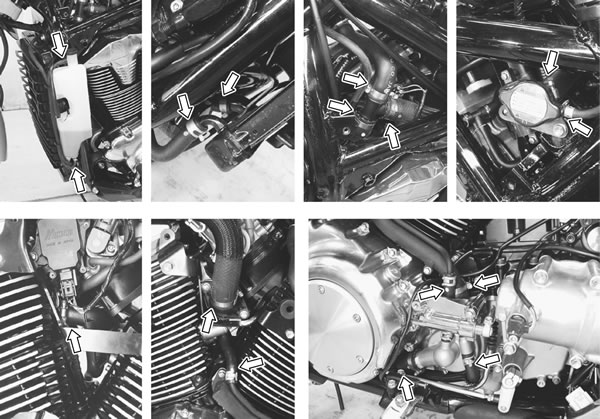
Radiator removal and disassembly
- Remove the fuel tank. (6-3)
- Remove the frame head covers and radiator covers. (9-6)
- Drain the engine coolant. (2-20)
- Disconnect the reservoir hose 1 and cooling fan lead wire coupler 2.
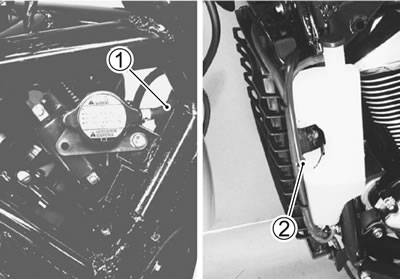
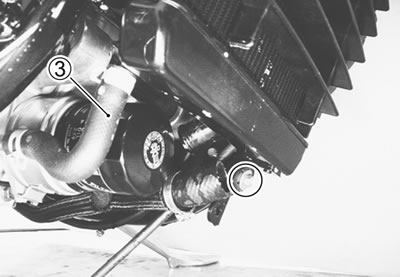
- Disconnect the oil cooler water outlet hose 3 and remove the radiator lower mounting bolt.
- Remove the radiator upper mounting bolts and disconnect the inlet hose 4.
- Remove the radiator.
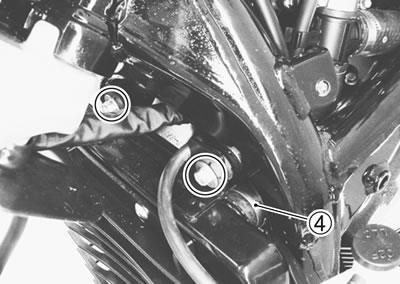
Radiator disassembly
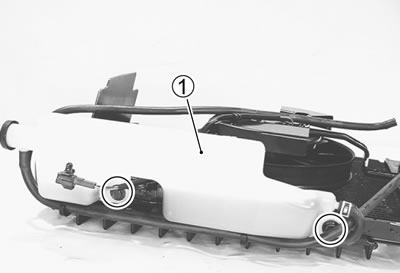
- Remove the reservoir tank 1.
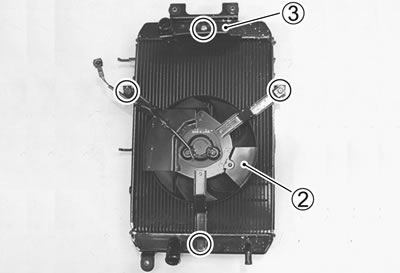
- Remove the coolong fan 2 and shield 3.
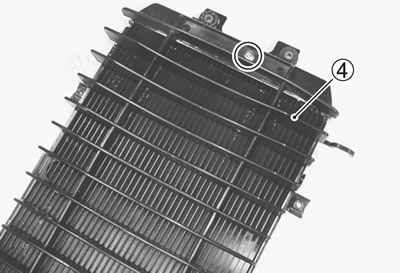
- Remove the radiator guard 4.
Radiator cap inspection
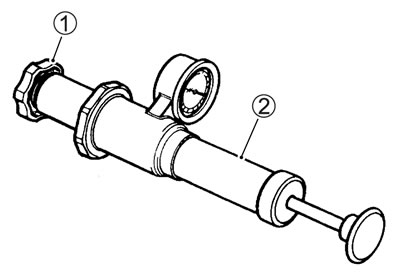
- Fit the cap 1 to the radiator cap tester 2.
- Build up pressure slowly by operating the tester. Make sure that the pressure build-up stops at 93 - 123 kPa (0.93 - 1.23 kgf/cm², 13.2 - 17.5 psi) and that, with the tester held standstill, the cap is capable of holding that pressure for at least 10 seconds.
- Replace the cap if it is found not to satisfy either of these two requirements.
Radiator cap valve opening pressure:
- Standard: 93 - 123 kPa (0.93 - 1.23 kgf/cm², 13.2 - 17.5 psi)
Radiator inspection and cleaning
- Road dirt or trash stuck on the fins must be removed.
- Use of compressed air is recommended for this cleaning.
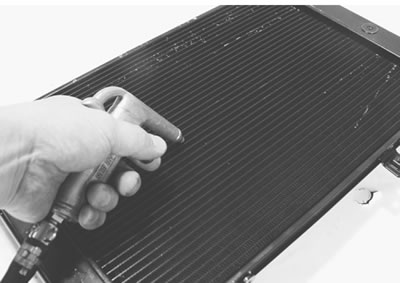
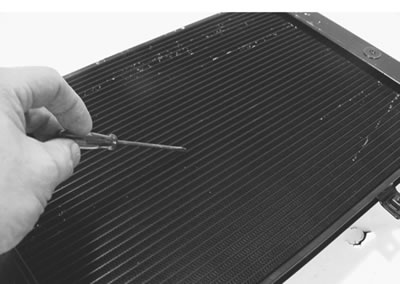
- Fins bent down or dented can be repaired by straightening them with the blade of a small screwdriver.
Radiator reassembly
Reassemble the radiator in the reverse order of disassembly.
Pay attention to the following points:
- Install the radiator guard 1.
Note: Fit the radiator onto the concave part А of the radiator guard.
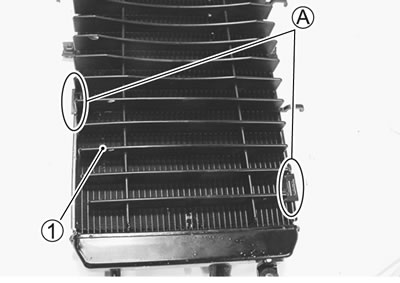
Radiator installation
Water hose inspection
- Remove the fuel tank. (6-3)
- Remove the frame head covers and radiator covers. (9-6)
- Remove the left and right air cleaner boxs. (6-13)
- Remove the secondary gear case cover. (3-6)
- Any water hose found in a cracked condition or flattened must be replaced.
- Any leakage from the connecting section should be corrected by proper tightening.
