Inspection
Inspect the crankshaft journal bearings for any damage.
If any, replace them with a specified set of bearings.
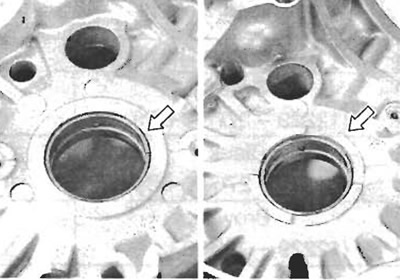
Selection
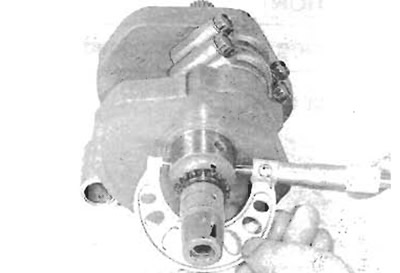
Inspect the crankshaft journal for any damage.
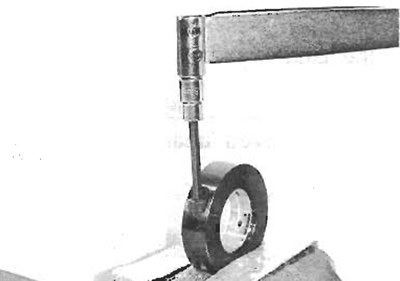
Measure the crankshaft journal O.D. with the special tool.
Crankshaft journal O.D.
- Standard: 41.985-42.000 mm (1.6529-1.6535 in)
- 09900-20202: Micrometer (25-50 mm)
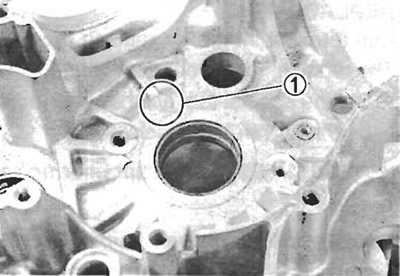
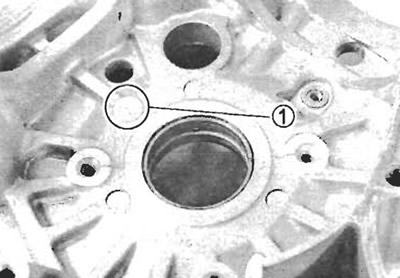
Select the specified bearings from the crankcase bore LD. code. The crankcase bore I.D. code (1) "A", "B" or "C", is stamped on the inside of each crankcase half.
Bearing selection table
| Crankcase I.D. (1) | |||
| A | В | C | |
| Bearing color | Green | Black | Brown |
Crank shaft journal I.D.
| I.D. code (1) | I.D. specification |
| A | 46.000-46.006 mm (1.8110-1.8113 in) |
| В | 46.006-46.012 mm (1.8113-1.8115 in) |
| C | 46.012-46.018 mm (1.8115-1.8117 in) |
Bearing thickness
| Color (Part No.) | Thickness |
| Green (12229-27G00-0A0) | 1.996-1.999 mm (0.0786-0.0787 in) |
| Black (12229-27G00-0B0) | 1.999-2.002 mm (0.0787-0.0788 in) |
| Brown (12229-27G00-0C0) | 2.002-2.005 mm (0.0788-0.0789 in) |
Caution! Bearing must be replaced as a set.
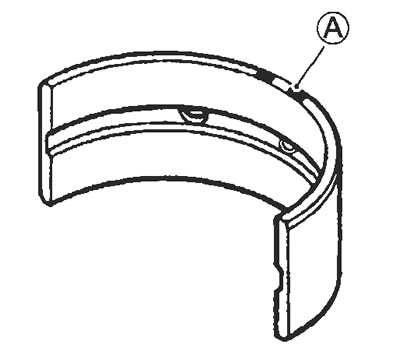
(A) Color code
Replacement
Use the special tool to replace the crankshaft journal bearings.
The replacement procedure is as follows.
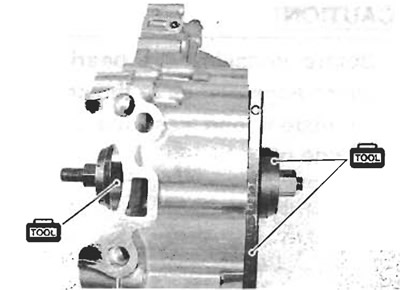
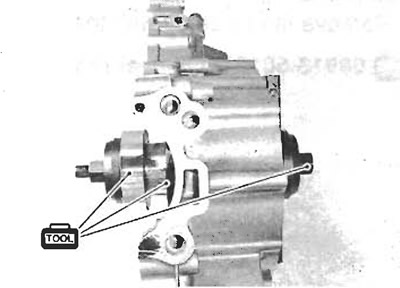
Set the special tool as shown to remove the crankshaft journal bearings with the special tool.
- 09913-60221: Journal bearing remover/installer
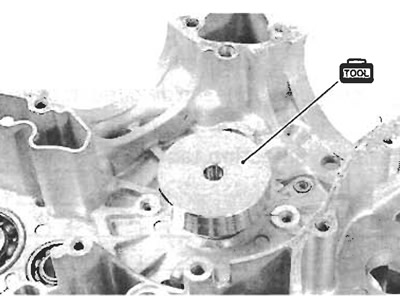
Note: Remove the crankshaft journal bearings in only one direction, from inside to outside of each crankcase half.
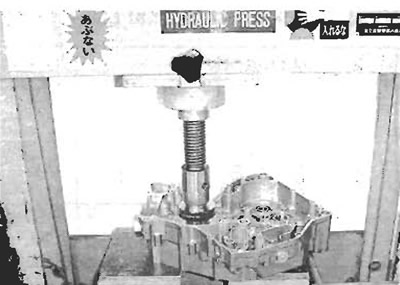
Gradually press out the bearing with the special tool by using the hand-press.
Caution! The removed bearings must be replaced with new ones.
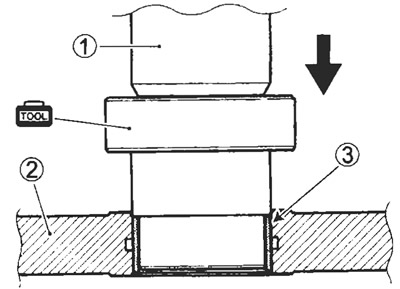
(1) Hand-press; (2) Crankcase; (3) Bearing
Note: Using the hand-press is recommended to remove the crankshaft journal bearings. However, the crankshaft journal bearings can be removed by using with the following special tools.
- 09924-84510: Bearing installer set
- 09910-20116: Conrod holder
- 09913-60221: Journal bearing remover/installer
 | 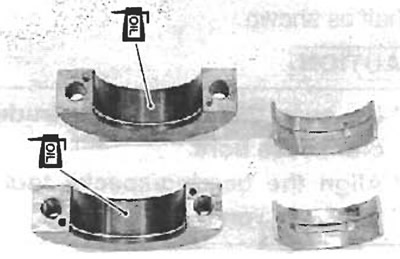 |
Set the specified crankshaft journal bearings to the special tool.
Caution!
- Before setting the bearing, apply enough engine oil to the special tool and bearings.
- When setting the bearing, align the bearing side with the engraved line (A) and also the bearing end with the mating surface of the special tool.
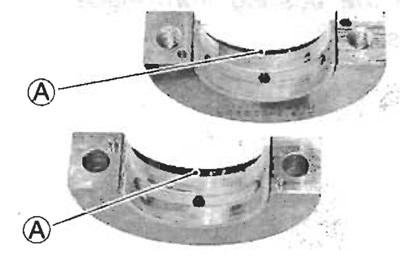
Note: The upper and lower bearings are same.
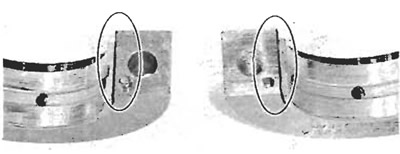
Tighten the special tool bolts to the specified torque.
- Special tool bolt: 23 N·m (2.3 kgf·m, 16.5 lb·ft)
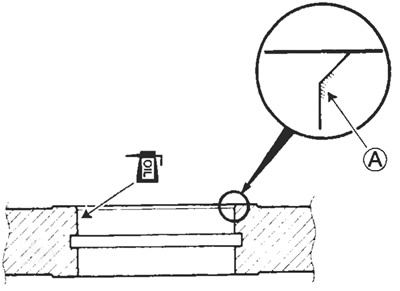
Caution! Before installing the bearings, lightly shave off the sharp edge part (A) of the crankcase chamfer by using an oilstone and wash the crankcase bore with enough engine oil.
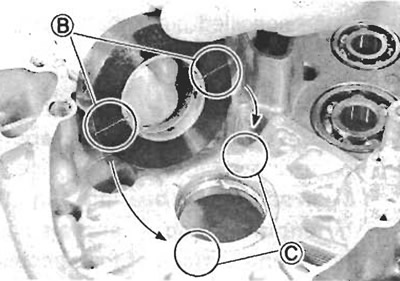
Set the bearings installed in the special tool to the crankcase half as shown.
Caution!
- Be sure the bearing protruded side (B) faces the crankcase bore.
- Align the bearing/special tool mating surface with the line (C) on the crankcase.
 |  |
Note: Install the bearing from inside to outside of each crankcase halves.
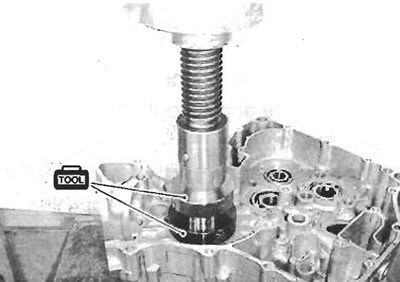
Apply enough engine oil to the special tool and the bearings and then set the special tool carefully.
Gradually press (1) in the bearing (2) into the main journal bore by using the hand-press until the special tool (3) contacts the special tool (4).

Note: Using the hand-press is recommended to install the crankshaft journal bearings. However, the crankshaft journal bearings can be installed by using the following special tools.
- 09924-84510: Bearing installer set
- 09910-20116: Conrod holder
- 09913-60221: Journal bearing remover/installer
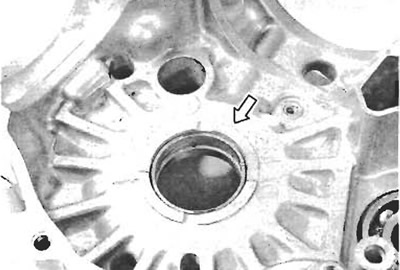
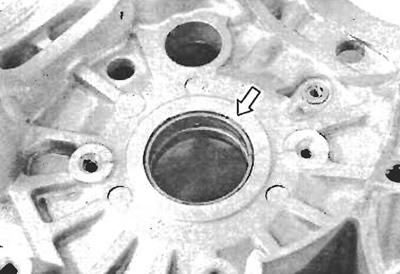
After installing the bearings, check the bearing surface for any scratch or damage.
 |  |
