Note: Be sure to set the CO density level to standard, and then adjust the exhaust gas volume.
1. Turn the main switch to "OFF" and set the engine stop switch to "ON".
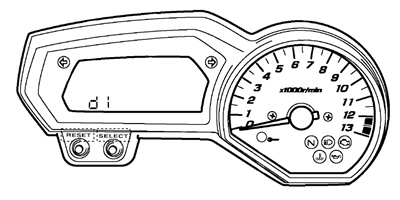
2. Simultaneously press and hold the "SELECT" and "RESET" buttons, turn the main switch to "ON", and continue to press the buttons for 8 seconds or more.
Note: "dI" appears on the clock LCD.

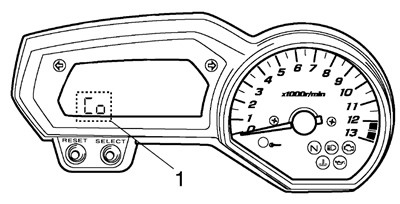
3. Press the "SELECT" button to select the CO adjustment mode "Co" "1" or the diagnostic mode "dI".

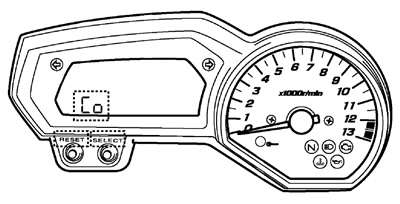
4. After selecting "Co", simultaneously press the "SELECT" and "RESET" buttons for 2 seconds or more to execute the selection.
Note: The selected cylinder number appears on the clock LCD.
- To decrease the selected cylinder number, press the "RESET" button.
- To increase the selected cylinder number, press the "SELECT" button.

5. After selecting the cylinder, simultaneously press the "SELECT" and "RESET" buttons for 2 seconds or more to execute the selection.
6. Change the CO adjustment volume by pressing the "SELECT" and "RESET" buttons.
Note: The CO adjustment volume appears on the tripmeter LCD.
- To decrease the CO adjustment volume, press the "RESET" button.
- To increase the CO adjustment volume, press the "SELECT" button.
7. Release the switch to execute the selection.
8. Simultaneously press the "SELECT" and "RESET" buttons to return to the cylinder selection (step 5).
9. Turn the main switch to "OFF" to cancel the mode.
