
Torque wrench settings:
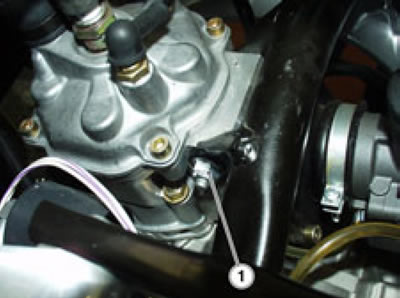
- Top engine nut (1): 50 Nm (5.0 kg·m)
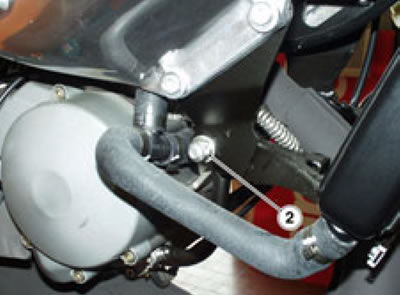
- Front engine nut (2): 50 Nm (5.0 kg·m)
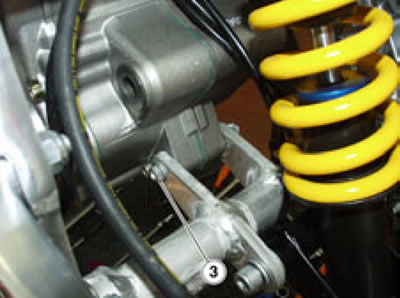
- Rear engine bolt (3): 22 Nm (2.2 kg·m)
- Sprocket cover screws (10): 5 Nm (0.5 kg·m)
- Screw (13): 10 Nm (1.0 kg·m)
Caution! Handle the engine with care and be careful of your finger and limbs.
Shift the engine in small motions until matching the mounting holes perfectly.
Insert the top mounting bolt with the washer and tighten the nut (1).
Insert the front mounting bolt, fit the washer and tighten the nut (2).
Insert the rear mounting bolt (3), fit the washer and tighten the nut.
Note. The next two operations are only required on fullpower (f.p.) engines:
Secure the RAVE valve by the two screws (14).
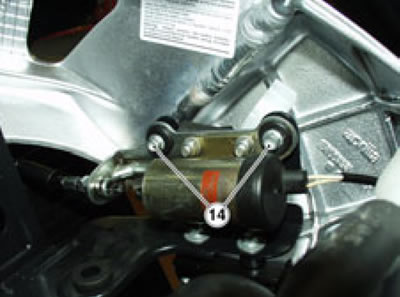
Connect the RAVE valve connector.
Refit the swinging arm spindle; see 7.11.5.
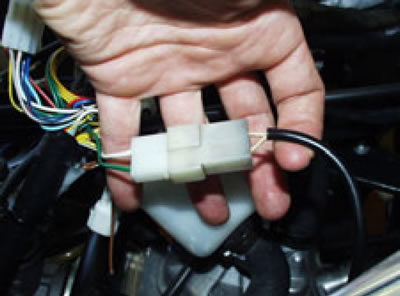
Connect the following electrical connectors in the order:
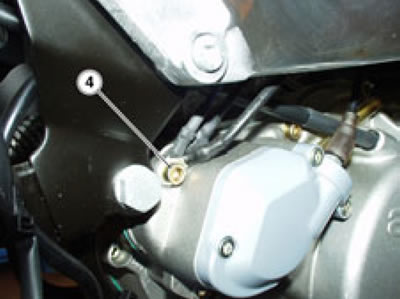
System grounding connectors; fix them with the screw (4).
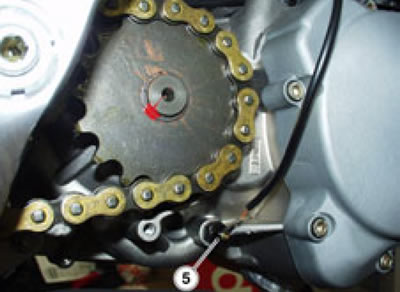
Neutral light switch (5).
ECU ground (6).

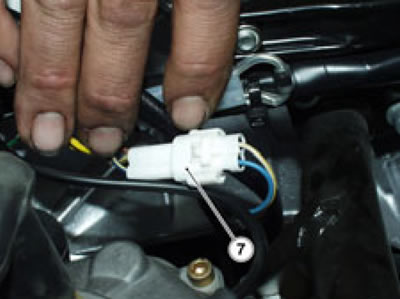
Pick-up (7).
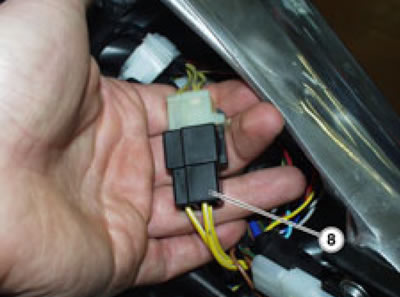
Generator (8).
Starter motor (9).

Fit the front chain sprocket to the shaft together with the drive chain.
Fit the circlip.

Position the sprocket cover and secure it with the two screws (10).
Connect the throttle cable to the mixer oil pump; see 7.3.2.

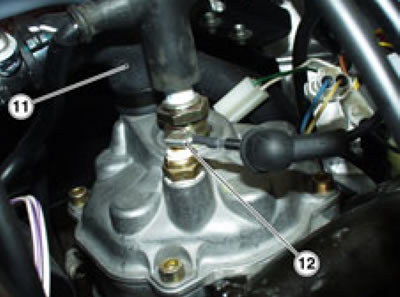
Fit the hose (11) to the cylinder head cover and fix it with a new clip.
Refit the spark plug and connect the cap correctly.
Connect the electrical connector (12) at the thermistor end.
Connect the clutch cable at the engine end; see 7.3.3.
Install the battery and connect it to the system; see 7.2.1.
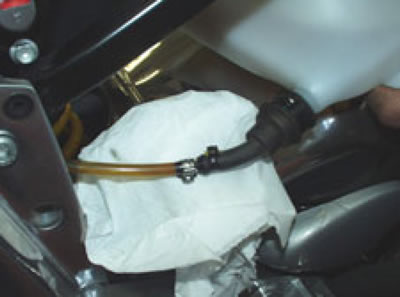
Connect the oil tubes using a new clip.
Position the gearbox link rod and tighten the screw (13).

Install the exhaust system; see 6.1.1 Install the carburetor; see 4.3.1.
Install the radiator; see 5.3.1.
When finished with engine installation, go on to the next operations.
Check that all engine mounting bolts and nuts are at the correct torque.
Top up coolant level; see 2.10.1.
Check drive chain slack and adjust as required; see 2.21.3.
Note. Inspect any components you have disturbed and check that:
- electrical leads are secured correctly with the suitable ties;
- electrical connectors are connected to the matching connectors;
- hoses and hose couplings are inserted correctly and fixed with suitable clips;
- throttle and cold-start cables slide freely and do not bind when you turn the handlebar.
Warning! The leads should not be twisted or trapped under any components.