Torque wrench settings:
- Bolt (1): 10 Nm (1.0 kg·m)
- Sprocket cover screws (3): 5 Nm (0.5 kg·m)
- Engine rear mounting bolt (11): 22 Nm (2.2 kg·m)
- Engine front mounting nut (12): 50 Nm (5.0 kg·m)
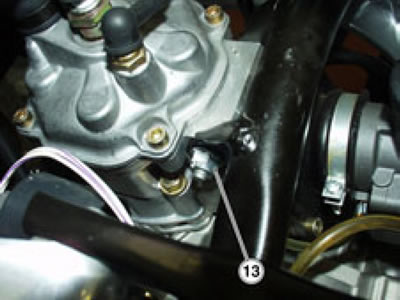
- Front upper nut (13): 50 Nm (5.0 kg·m)
Warning! The engine is removed by lowering it from the frame. Make sure to have all necessary equipment ready at hand and in place before proceeding.
Before taking the engine out of the frame, clean it with a steam cleaner and drain all coolant; see 5.2.1.
NOTE Certain procedures include cross-references to relevant sections of the manual. Some of the operations described there may not be strictly required for the job at hand. Proceed sensibly to avoid redundant work, that is, always make sure you really need to remove a particular component before proceeding.
Engine removal procedures are listed in the proper sequence in this section.
Note. You will need a hoist and suitable slings to lift the engine.
Put the motorcycle on front wheel stand (OPT); see 1.7.1.
Fix the slings to the rider footpegs.
Lift the hoist arm until stretching the slings taut.
Remove the exhaust system; see 6.1.1.
Remove the carburetor and leave it connected to throttle and cold-start cables; see 4.3.1.
Remove the radiator; see 5.3.1.
Slacken the screw (1) and withdraw the gearbox link rod. The link rod is retained to the gear shift lever by the rod.
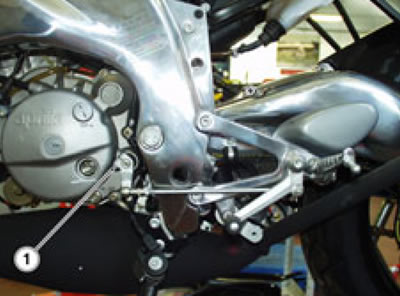
Release the tie (2).

Note. Place some paper under the fitting to collect any oil spillage.
Disconnect the oil tubes and block them off.
Disconnect the throttle cable at the mixture oil pump end; see 7.3.2.
Perform the first five steps of the procedure described at paragraph 5.5.1.
Disconnect the clutch cable at the engine end only; see 7.3.3.
Remove the battery and battery box mount together; see 7.2.1.
Release and remove the two screws (3) and remove the sprocket cover.

Remove the circlip.
Note. Slacken the drive chain to aid removal of the chain sprocket.
Slide the chain sprocket and the drive chain off the shaft.
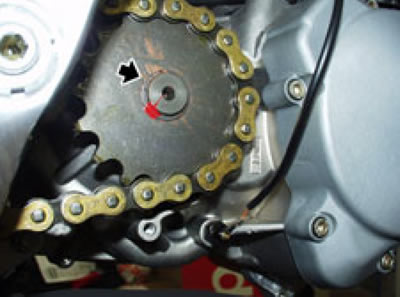
Disconnect the following electrical connectors in the order:
Starter motor (4) - release the wiring from the ties.
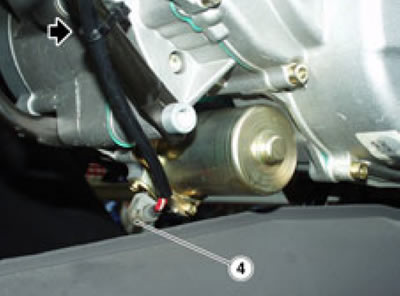
Generator (5).

Pick-up (6).
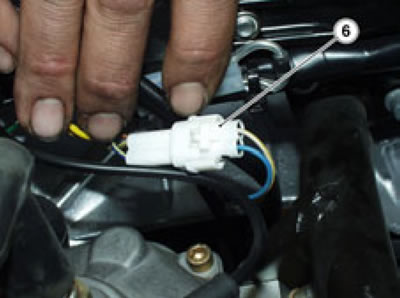
ECU ground (7).

Neutral light switch (8).

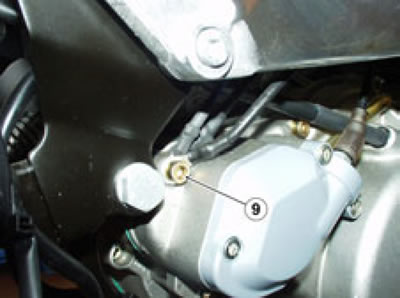
Release and remove the screw (9) and disconnect the grounding connectors of the system.
Partially remove the swinging arm spindle; see 7.11.1.
Note. You need not remove the swinging arm completely.
When you are removing the engine of a full-power (f.p.) vehicle:
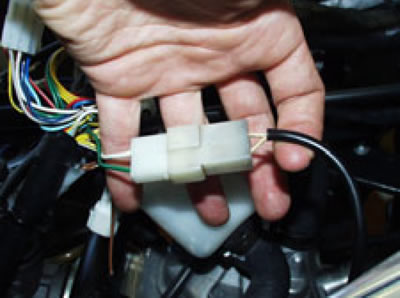
Disconnect the RAVE valve connector.
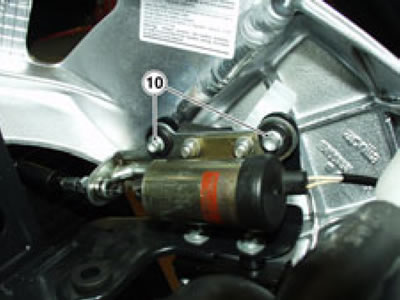
Release and remove the two screws (10).
Note. Release all cables and hoses from the ties and clips along their full length.
Release and remove the rear lower mounting bolt (11) and collect nut and washer.

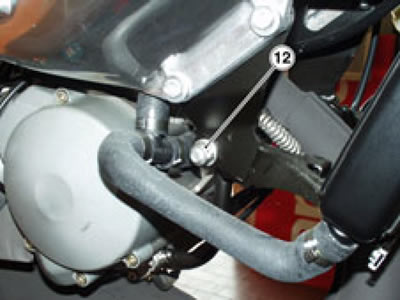
Undo and remove the nut (12) working from the right side of the motorcycle and collect the washer.
Remove the bolt from the opposite side.
Warning! The engine is heavy and you will need an assistant to help during the next steps of the procedure. Plan work ahead together.
Undo and remove the nut (13) and collect the washer.
Danger!
- The engine is retained to the frame by the upper mounting bolt only.
- Use great care and be careful of your fingers and limbs.
- Choose the location where you will place the engine and clear the floor area from any tools.
Support the engine and remove the bolt.
Lower the engine until placing it safely on the floor.
