Torque wrench settings:
- RAVE valve screws (1): 10 Nm (1.0 kg·m)
Remove the fuel tank; see 4.1.1.
Remove the battery together with the battery box mount; see 7.2.1.
When installing a RAVE valve to a derated engine, first remove the fixed slide. This is done by unscrewing the two screws (1). Collect the washers.

Complete valve installation
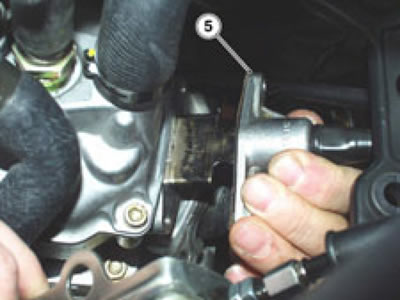
Insert the exhaust valve assembly complete with seal (5) into the cylinder.
Note. Change the seal (5) on assembly.
Use the two screws (1) with washers of the fixed slide to secure the exhaust valve assembly.
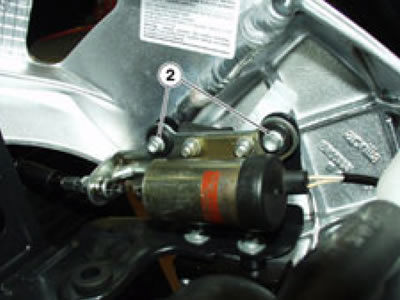
Fit the control unit to the battery bracket using the two screws (2).
Connect the control unit connector to the wiring harness.

Installation after partial removal
Connect the Bowden cable (3) to the valve stem housing (4).
Rotate the valve stem housing (4) through 180°.
Note. The cable anchor point must be pointing downwards.
Refit the dust cover.
Insert the exhaust valve assembly complete with seal (5) into the cylinder.
Note. Change the seal (5) on assembly.
Tighten the two screws (1) with washers of the exhaust valve assembly.

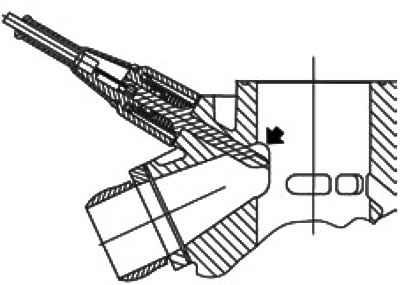
Warning! Check the exhaust valve assembly as follows after installation.
With the valve fully open, the valve stem must be flush with the exhaust port. This inspection must be done with the exhaust flange removed; see 6.1.1.
Make sure the exhaust valve moves freely.