Cover removal
Drain off the cooling circuit completely.
Undo and remove the five screws.
Remove the water pump cover.

Pump rotor removal
Remove the clutch-side cover.
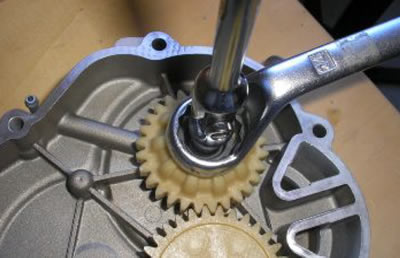
Lock the pump shaft with a universal wrench on the hexagonal insert on the shaft.

Unscrew and remove the anticlockwise nut fixing the rotor.
Remove the rotor.
Unscrew and remove the rotor control gear fixing nut and act on the gear hexagonal insert.
Remove the rotor control gear.
From the cover inside to the outside, remove the rotor control shaft with a punch and a rubber hammer.
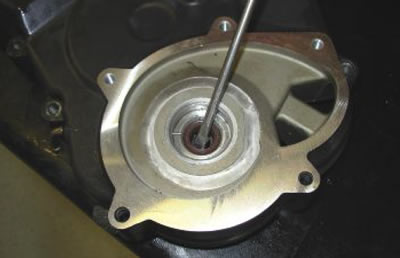
Use a screwdriver to remove the upper part of the shaft and integrated seal assembly as indicated.

Caution! Before tightening the 3 screws, ensure that the tool is perfectly centred with the seal and that the screws are perpendicular to the surface of the seal itself. Tightening the screws incorrectly may damage the oil seal underneath the water seal and the cover itself.
Fit the tool and use the specific punch to make 3 holes in the integrated seal.
- Specific tooling: 020661Y Water pump overall seal replacement kit
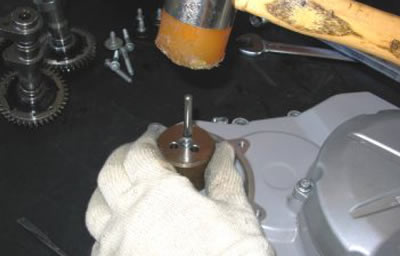
Tighten the three screws.
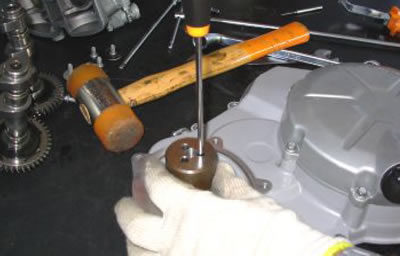
Fit the upper part of the tool.
Fully tighten the pin with the bolt.
Preventing the bolt from turning, tighten the nut to that the lower part of the tool, onto which the shaft and integrated seal are connected, raises.
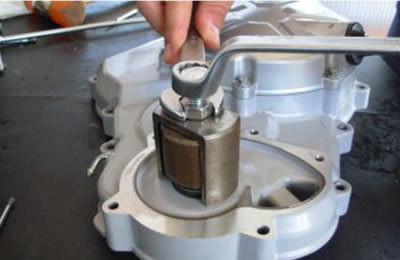
Remove the oil seal.
See also specifications for this operation.
