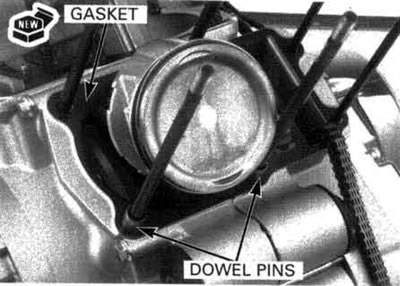
Install a new gasket and the dowel pins.
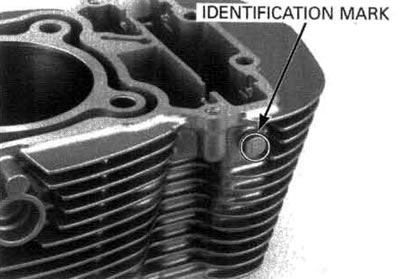
The cylinders have the following identification marks:
- "F": Front cylinder
- "R": Rear cylinder
Apply engine oil to the cylinder wall, piston and piston ring outer surfaces.

Route the cam chain through the cylinder and install the cylinder over the piston while compressing the piston rings with your fingers.
Be careful not to damage the piston rings and cylinder wall.
Coat new O-rings with coolant and install them into the end grooves in the water joint pipe and into the cylinders.
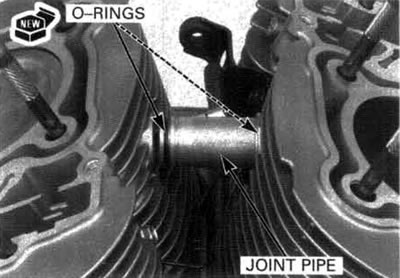
If water joint pipe installation is difficult, raise one of the cylinders and install the pipe. Then carefully lower the cylinder and install the other side of the pipe into the other cylinder.
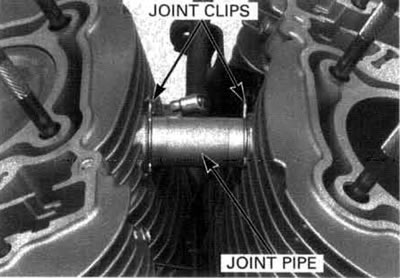
Slide the water joint pipe in position between the cylinders.
Install the joint clips in the joint grooves.
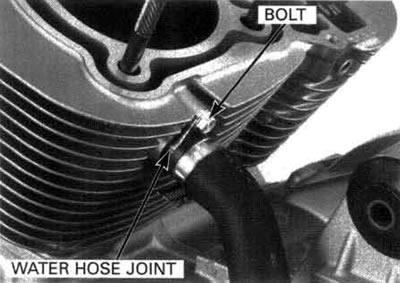
Coat a new О-ring with coolant and install it in the water hose joint groove of the rear cylinder.
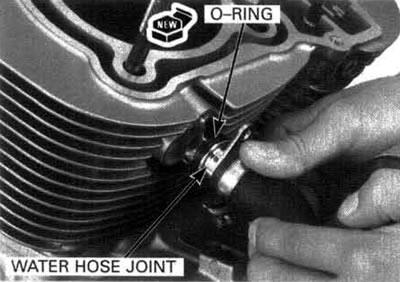
Rear cylinder only:
Install and tighten the bolts securely.
Install the cylinder head (page 8-19).