Measure the diameter of the piston at 18 mm (0.7 in) from the bottom and 90 degrees to the piston pin hole.
Service limit: 100.91 mm (3.973 in).
Calculate the cylinder-to-piston clearance (cylinder I.D.: see previous page).
Service limit: 0.32 mm (0.126 in).

Measure and record the piston pin hole I.D. in the X and V axes. Take the maximum reading to determine the I.D.
Service limit: 24.018 mm (0.9456 in).

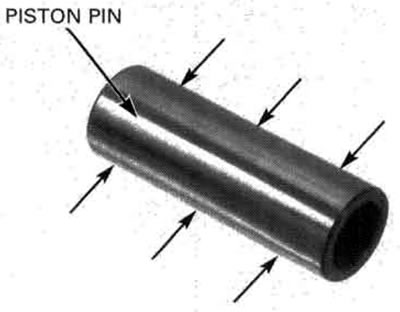
Measure and record the piston pin O.D. at three points.
Service limit: 23.984 mm (0.9443 in).
Calculate the piston-to-piston pin clearance by subtracting the piston pin O.D. from the piston pin hole I.D.
Service limit: 0.034 mm (0.0013 in).

Measure and record the connecting rod small end I.D.
Service limit: 24.051 mm (0.9469 in).
Calculate the connecting rod-to-piston pin clearance by subtracting the piston pin O.D. from the small end I.D.
Service limit: 0.07 mm (0.003 in).

Temporarily install the piston rings to their proper position with the mark facing up.
Push the ring until the outer surface of the piston ring is nearly flush with the piston and measure the clearance using a feeler gauge.
Service limits:
- Top: 0.07 mm (0.003 in)
- Second: 0.07 mm (0.003 in)

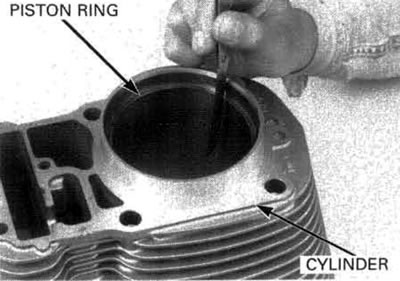
Insert the piston ring into the bottom of the cylinder squarely using the piston as shown.
Measure the end gap using a feeler gauge.
SERVICE LIMITS:
- Top: 0.55 mm (0.022 in)
- Second: 0.70 mm (0.028 in)
- Oil: 0.90 mm (0.035 in)

