Yoke removal
Before starting work, ensure the motorcycle is stabilised and adequately supported. This will help prevent it from falling and causing injury to the operator or damage to the motorcycle.
1. Remove both forks as described on page 14.4.
2. Release the two screws securing the upper cover of the handlebar clamp to the lower half.

1. Upper cover; 2. Screws
3. Slacken the top yoke clamp bolts.
4. Pivot the instruments forward to reveal the top nut.
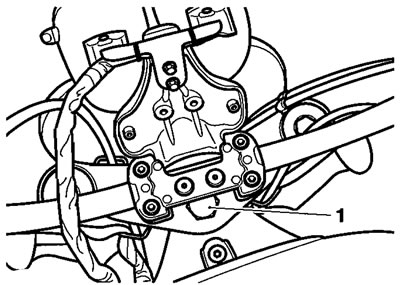
1. Top nut
5. Slacken and remove the top nut and washer from the steering stem. Lift and support the handlebar and top yoke assembly to gain access to the bearing adjuster nut and locknut.

1. Locknut; 2. Adjuster nut
6. Remove the locknut and adjuster nut.
7. Detach the bottom yoke from below the frame headstock.
Bearing removal
1. Using a suitable drift, evenly and progressively drive the bearing outer races from the frame headstock.
2. Remove the inner race and dust seal from the bottom yoke using a press or puller.
Caution! Protect the threads of the bottom yoke when using a press or puller as damaged threads may mean replacing the yoke completely.
Installation
1. Fit a new dust shield to the steering stem on the bottom yoke.
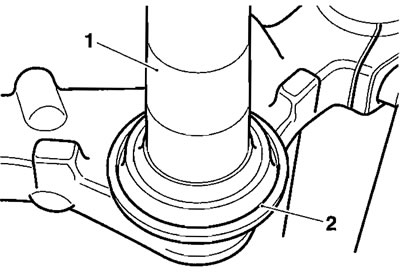
1. Steering stem; 2. Dust shield
2. Press a new inner race onto the steering stem of the bottom yoke.
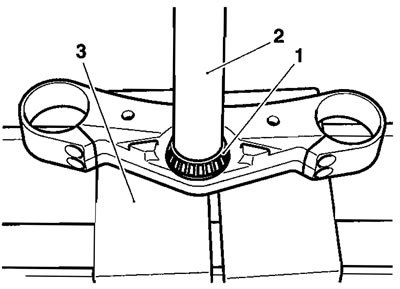
1. Bearing; 2. Press; 3. Press bed
3. Evenly and progressively drive new bearing outer races into the frame headstock.
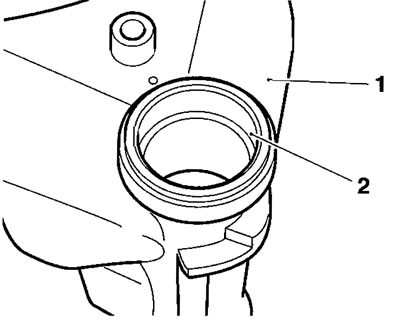
1. Headstock; 2. Bearing outer race; 3. Bottom yoke Installation
4. Lubricate the headstock bearings using multipurpose grease.
5. Insert the lower yoke to the frame headstock, fit the upper bearing and retain with the adjuster nut.
6. Adjust the bearing free play as follows:
- a) Tighten the adjuster nut to 40 Nm.
- b) Slacken the adjuster nut fully.
- c) Re-tighten the adjuster nut to 6 Nm.
- d) Loosen the adjuster nut by 90°. Note that there will now be free-play present.
- e) Hold the adjuster nut in that position while tightening the locknut to 40 Nm.
7. Seat the top yoke assembly in position then refit the washer and top nut, tightening it to 65 Nm.
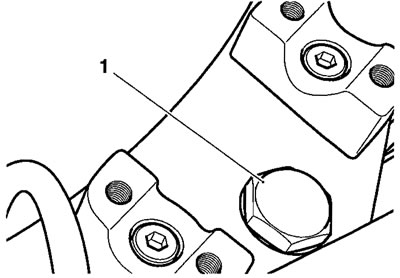
1. Top nut
8. Check that the free play has been eliminated and that the steering can be turned freely from lock to lock without any sign of tightness. Re-adjust if necessary.
Warning! Operation of the motorcycle with incorrectly adjusted steering head bearings, either too loose or too tight, may cause a dangerous riding condition leading to loss of motorcycle control and an accident.
9. Install the forks as described on page 14.5.
10. Recheck that the free play has been eliminated and that the steering can be turned freely from lock to lock without any sign of tightness. Readjust if necessary.
Warning! Operation of the motorcycle with incorrectly adjusted steering head bearings, either too loose or too tight, may cause a dangerous riding condition leading to loss of motorcycle control and an accident.
11. Pivot the instruments back to their normal position, fit the two bolts to the upper cover and tighten them to 3 Nm.
