Valves are subject to lapping in case of their leaky fit to the seats. To check the tightness of the valves, we install the cylinder head on a horizontal, flat surface and fill the combustion chambers with kerosene to the brim. If after three minutes the level of kerosene in the combustion chamber has dropped, the valves are leaking and require lapping.
The valve must be replaced if its stem is badly worn or deformed, as well as in case of plate burnout, which can be caused by the engine running on a lean mixture or when using low-quality gasoline.
Attention! Removed valves and other parts of the valve mechanism should be installed only in their places. It is not allowed to swap parts.
1. With a metal brush, we clean the combustion chambers and valve plates from soot, after soaking it with a carburetor cleaner or solvent.
Attention! It is impossible to clean carbon deposits without soaking, soot is a carcinogen.
2. Using any suitable universal valve remover, compress the spring.

3. Remove the crackers with tweezers.
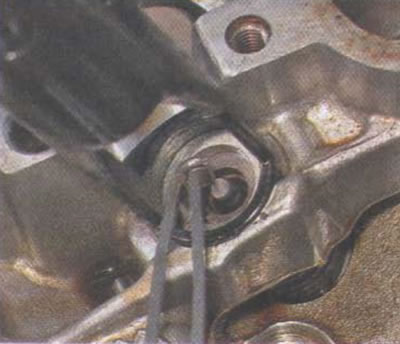
4. Remove the upper plate of the valve spring.
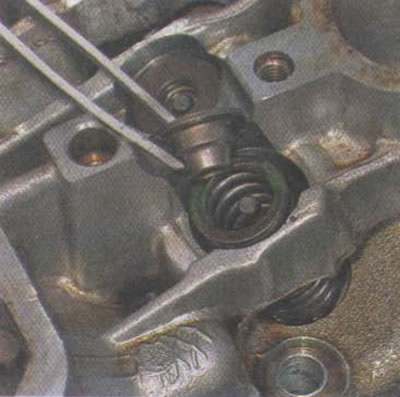
5. Remove the valve spring.
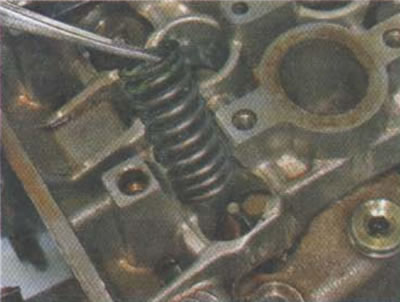
6. Remove the lower valve plate.
7. Use a screwdriver with a thin blade and remove the valve stem seal with tweezers.

8. Take it out valve _
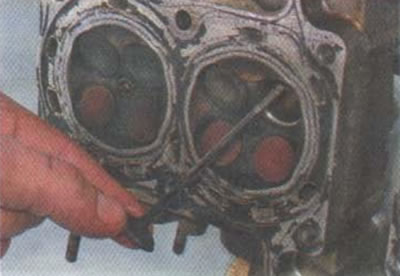
9. Having previously soaked the carbon deposits on the inner surface of the valve disc and its seat with a carburetor cleaner or solvent, we clean the carbon deposits with a metal brush.
10. We select a plastic or rubber hose or tube suitable for the diameter of the valve stem, as well as a drill or tool tip of approximately the same diameter.
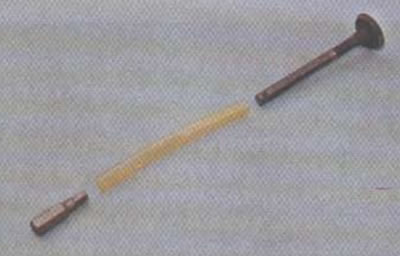
Attention!
- If during the pouring of the valves the kerosene flowed out quickly, it is necessary to lap in two stages: first with a medium-grained lapping paste, and then with a fine-grained one.
- If the level of kerosene has only slightly decreased during the control time of pouring, one-stage lapping of the valves with a fine-grained paste is allowed.
11. Apply lapping paste to the working edge of the valve and lubricate the valve seat with engine oil.
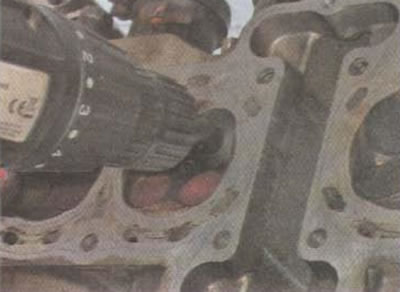
12. Install the valve in its place, clamp the tool nozzle into the drill or screwdriver chuck. We put the tube on the nozzle with one side, and on the valve stem with the other. Pressing the valve from the side of the combustion chamber, alternately rotate the valve in different directions.
Attention! If you are using an electric drill, set the chuck to the lowest RPM. If with an electric screwdriver, you can set the maximum speed.
13. Usually, for high-quality lapping of one valve, 4-7 minutes of processing are required at each stage.
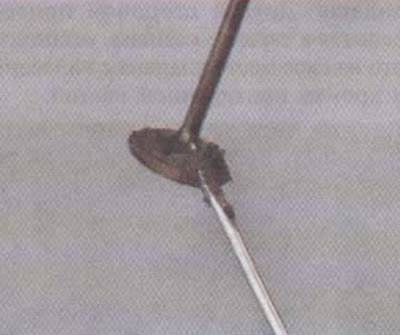
14. There is an alternative way to hold the valve while lapping it. To do this, you need to purchase a special suction cup of a suitable diameter (at the auto parts store).

15. The suction cup is fixed in the chuck of a drill, screwdriver or simply on a pencil. The other side of the suction cup is attached to the valve plate, the valve installed in its place with lapping paste applied to the edge.
16. Before assembling the assembly, it is necessary to thoroughly rinse and blow out the cylinder head and valves with compressed air to prevent lapping paste from entering the valve guides and cylinder. The ingress of abrasive particles into friction pairs will lead to rapid and irreparable wear of parts and their failure. For flushing, you can use kerosene, gasoline or carburetor cleaner.
Attention! When disassembling the cylinder head, it is recommended to replace all valve stem seals with new ones. Since head repairs are relatively rare, the likelihood that valve stem seals are worn out is quite high.
Before installing the springs, we check them for signs of wear, cracks, etc. We measure the length of the springs in a free state, the nominal height of the spring is 40.03 mm, the maximum (at which point the spring must be replaced) - 38.50 mm. If the springs show signs of damage or severe wear, replace them.
Attention! The valve springs have a variable winding pitch. It is important to set the spring in the correct position: with a wider step up.
17. We assemble the valve mechanism in the reverse order.
18. We re-check the tightness in the manner indicated above. If necessary, repeat the grinding in of leaking valves.
