
We remove everything that can interfere with the removal of the power unit: fuel tank (see «Fuel tank - removal and installation»), carburetor bar (see «Plank carburetors - removal and installation»), thermostat with cooling pipes (see «Thermostat - removal and installation»), oil filter (see «Changing engine oil and oil filter») and exhaust system (see «System of release of the fulfilled gases - removal and installation»).
I. Disconnect all wires going to the engine by disconnecting the three terminal blocks.
2. Using a Phillips screwdriver, we loosen the two clamping screws of the clamps of the pipes of the cooling system suitable for the cylinder head.
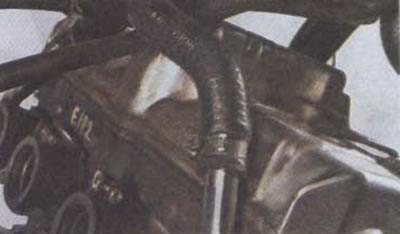
3. Remove the two cooling system pipes from the cylinder head, moving them upward.

4. Use a slotted screwdriver to pry off the two plastic plugs of the upper rear engine mount (one on each side of the frame) and extract them.

Attention! Before performing the following operations, it is recommended to wrap the front and down tubes of the motorcycle frame with rags to prevent damage to their paintwork when removing the power unit.
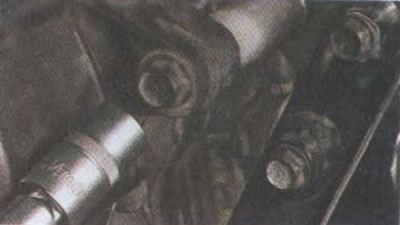
5. It is necessary to unscrew the engine mounting bolts in the order indicated in the photo. Otherwise, the fasteners may break and the engine crankcase may be damaged.

We will carry out subsequent operations to dismantle the power unit from the motorcycle with an assistant.
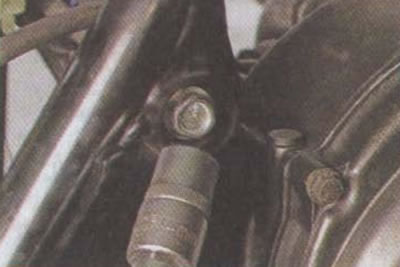
6. Using a 14 mm wrench, hold the stud nut on one side of the frame, and with a second 14 mm wrench, unscrew the lower rear stud securing the power unit and remove it.

7. Similar to point 6 (see above) unscrew the upper rear stud securing the power unit and remove it.
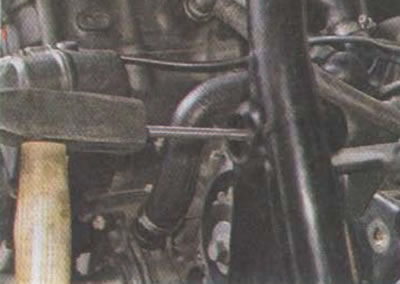
8. To remove the top stud, you can use a drift of a suitable size. Using light blows of a hammer, remove the stud from the bushings. The power unit will sit with its back on the frame.
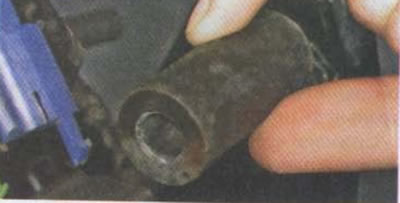
9. There are two spacers on the top rear engine mount stud. We extract them.
10. Holding the nuts of the front engine mounting bolts with a 17 mm wrench, unscrew the bolts with a 14 mm wrench.
11. Remove the spacer bushings, then use a 14 mm wrench to unscrew the bolts securing the front engine brackets and remove them.

The front of the engine will settle into the frame. To finally remove it, you need to lift it, move it back and turn it about 75 degrees to the right. After turning in the frame, the engine is easily removed to the right side of the motorcycle.
Installation
Installation is carried out in the reverse order.