
Caution: If the machine is continually ridden in wet or dusty conditions, the air filter should be checked more frequently.
Air filter
1. On XL600V and XRV750-L to N (1990 to 1992) models, remove the left-hand side panel (see Chapter 8). Undo the screws securing the air filter in the housing and withdraw It (see illustrations).
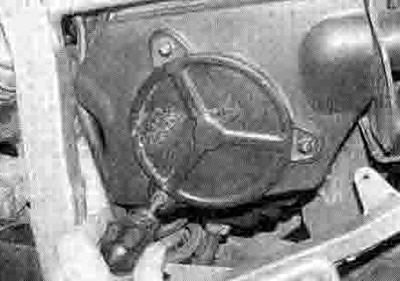
8.1a. Undo the three screws...
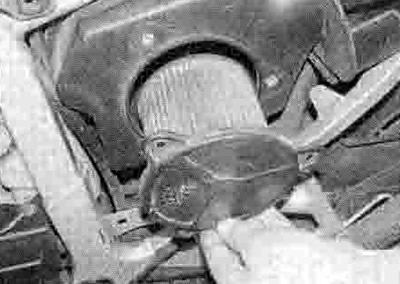
8.1b ...and withdraw the filter
2. On XL650V models remove the fuel tank (see Chapter 4). Undo the screws securing the air filter housing cover and remove it (see illustrations). Remove the filter from the housing, noting how it fits (see illustration).
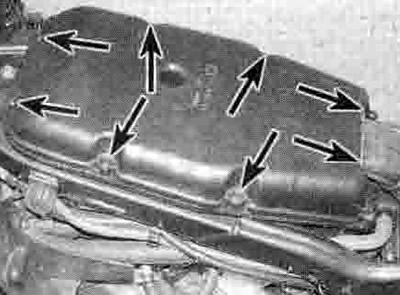
8.2a. Undo the screws (arrowed)...
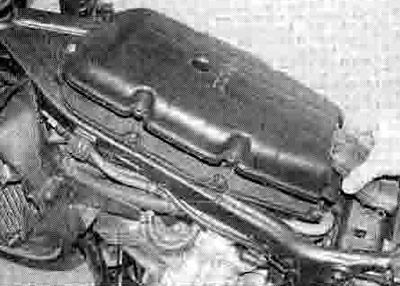
8.2b ...then remove the cover...

8.2c... and lift out the filter
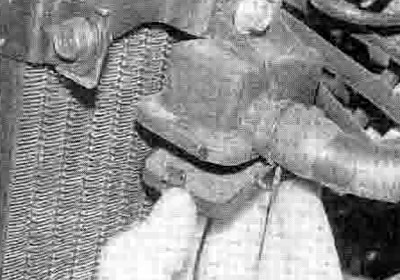
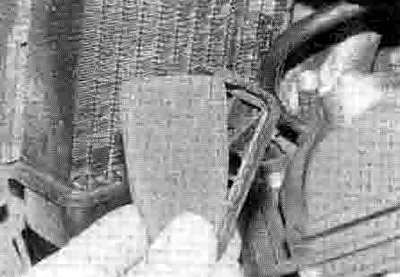
3. On XRV750-P models onwards (1993-on), undo the screws securing the air filter housing cover, noting which fit where, and remove the cover (see illustrations). Withdraw the filter from the housing, noting how it fits (see illustration).
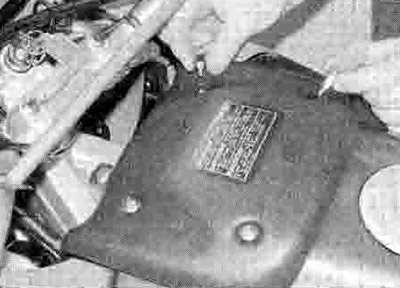
8.3a. Undo the screws, noting which fits where ...

8.3b ...then remove the cover...
8.3c ...and withdraw the filter
4. To clean the filter, tap it on a hard surface to dislodge any dirt and use compressed air to clear the element, directing the air in the opposite way to normal flow (see illustration). Do not use any solvents or cleaning agents on the element as it is pretreated with a dust adhesive. If the machine is constantly used in dirty or dusty conditions the filter should be replaced at more frequent intervals than specified. Check the element for tears and excessive oil contamination and replace it with a new one if necessary.

8.4. Direct the air in the opposite direction of normal flow
5. Install the filter In the housing, making sure it is correctly seated, and secure it with its screws or cover. Install the side panel or fuel tank as required according to model.
Sub air-filter
Note: There is no specific interval for cleaning the sub-air filter, but it should be inspected periodically to ensure the carburettor air vent system is clear.
6. XL600V models have two sub-air filters, one on the back of each radiator - remove the fairing side panels to access them (see Chapter 8). XL650V models have one sub-air filter, mounted on the rear of the air filter housing.
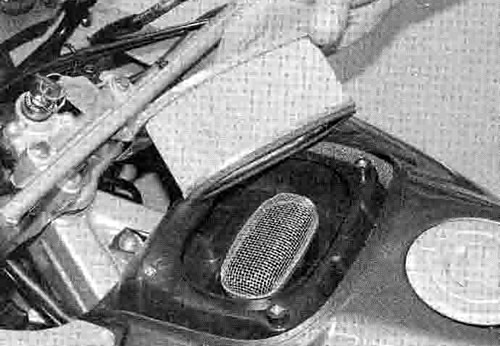
7. On XL600V-T to X (1997 to 1999) models and XL650V models, remove the cover on the sub-air filter element housing(s), then remove the element and check for damage and excessive dirt or oil contamination and replace with new one(s) if necessary (see illustrations).
8.7a. Release the cover...
8.7b ...and remove the element - XL600V shown