
Front wheel removed (see «Front wheel - removal and installation»).
Front wheel guard removed (see «Front wheel guard - removal and installation»).
Disassembly
I. Loosen the pen plug with a 18 mm spanner.
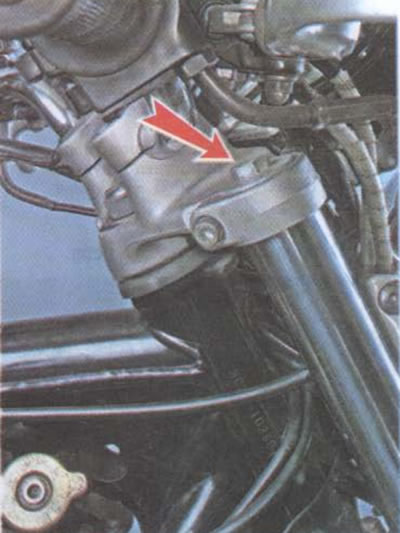
2. We take out the pen from the traverses (see «Front fork feathers - removal and installation»).
Attention! On some modifications of the Honda CB400SF motorcycle, short front fork springs are used, which are installed in feathers with tubular spacers.
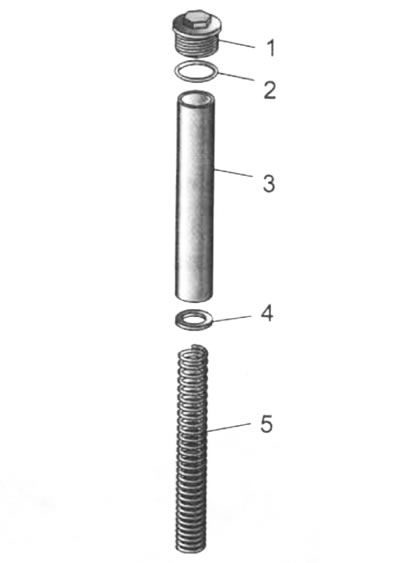
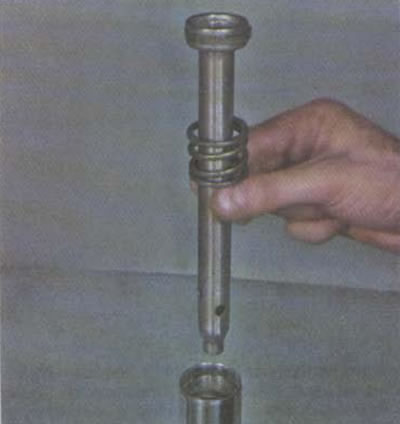
1 - pen plug; 2 - rubber sealing ring; 3 - spring spacer; 4 - spring thrust washer; 5 - spring
3. Turn off the pen cap.
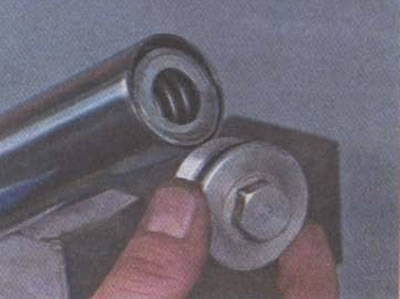
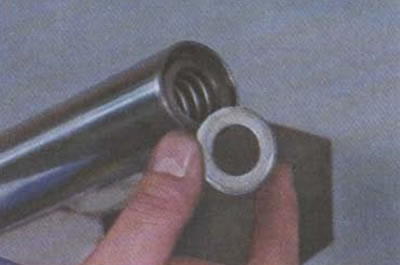
4. Take out the thrust washer
Attention! Remove the spring slowly, allowing the oil to drain into the pen. Then it is recommended to place the spring vertically in a suitable container to allow the remaining oil to drain.
5. We take out the working spring from the pen.

6. Drain the used oil into a suitable container (volume not less than 1 l). To drain the maximum amount of oil, it is recommended to turn the pen upside down, squeeze and unclench it several times, and then leave it upside down for 5-10 minutes.

7. We wash the pen, for which we fill it with 100-150 cm3 of kerosene or white spirit. We completely move and extend the feather several times to wash all the parts, the channels of the shock absorbers and the internal surfaces of the feather. Drain kerosene.
8. We clamp the movable pen tube into a vise through aluminum or plastic sponges and unscrew the shock absorber mounting bolt with a 6 mm hex wrench.

9. Remove the bolt along with the copper sealing washer.

10. Use a thin slotted screwdriver to pry off the feather boot.

11. We remove it.
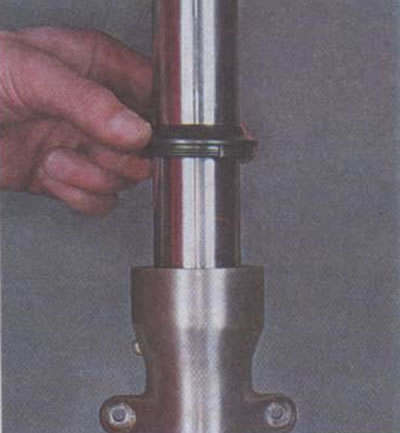
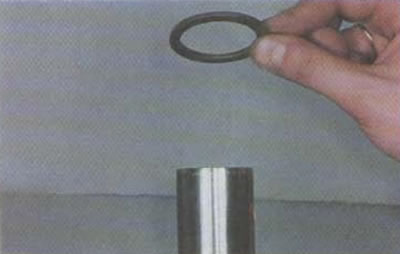
12. Using the same screwdriver, pry up and remove the seal retaining ring.
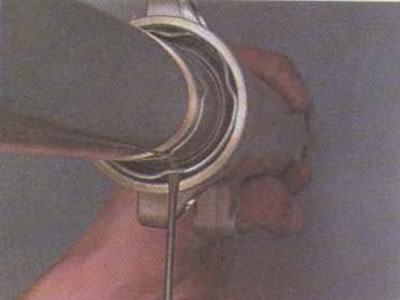
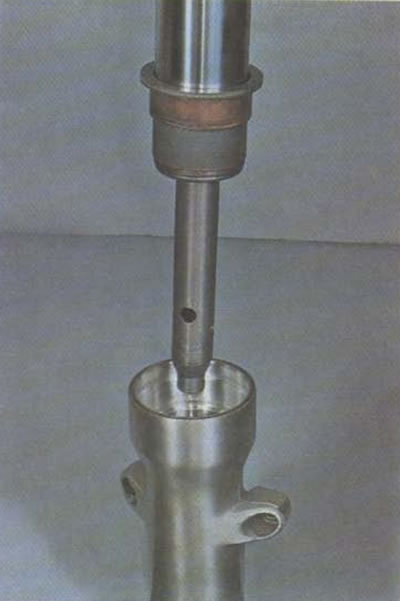
13. We knock the supporting pipe out of the movable pipe with sharp movements in the direction indicated by the arrow. It may be necessary to repeat the operation several times to press out the upper feather guide and oil seal.
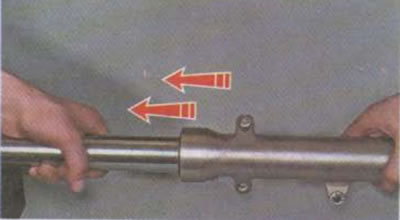
14. Remove the stuffing box from the carrier pipe.
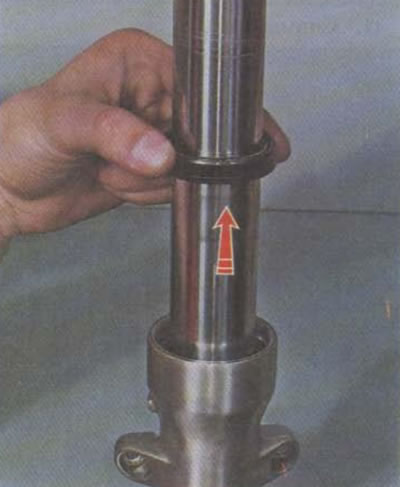
15. We take out the carrier pipe from the mobile one together with the shock absorber.
16. We turn over the movable pipe and remove the shock absorber tip from it.
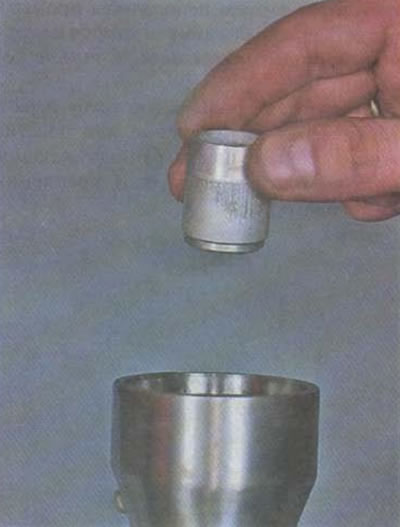
17. Remove the stuffing box thrust washer from the carrier pipe.
18. Remove the upper guide from the carrier pipe.
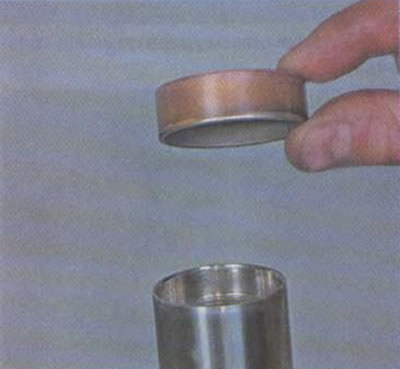
19. We turn the carrier tube over and remove the shock absorber housing assembly with the rebound spring from it.
20. Remove the lower guide, slightly expanding it.

21. We examine the details of the pen. There should be no wear, deep scratches, chips or blisters of chrome on the mirror of the supporting pipe, especially in the area where the oil seal and boot work. Checking the geometry of the pipe. The easiest way is to attach a long plumber's ruler to the pipe and measure the gaps between the ruler and the surface of the pipe, if any. If the pipe has a deformation of more than 3 mm along its length, as well as in the presence of any of the specified damages, it must be replaced.
22. We examine the guides. A layer of special material is applied on the outer surface of the lower guide and on the inner surface of the upper one, which has increased wear resistance and low friction resistance. Over time, especially with an aggressive driving style, this layer is erased, and the soft metal from which the guides are made wears out. In case of wear, the guides must be replaced. Slight scuffing along the edges of the sliding layer is acceptable and does not serve as a signal for replacement.
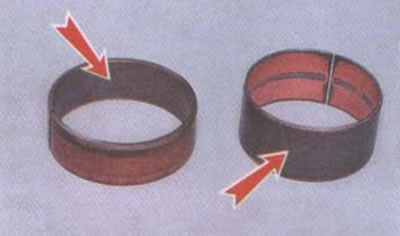
The arrows mark the sliding layer on the top (in the photo on the left) and bottom guides