
Caution!
- Refer to notes on the hazards involved in handling brake fluid.
- Do not allow brake fluid to come into contact with painted parts of the motorcycle, because brake fluid destroys paint.
Changing brake fluid (front brake)
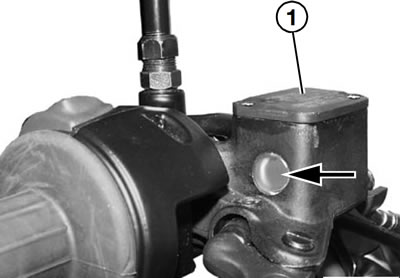
Turn the handlebars so that the cover of the reservoir is horizontal.
Remove cover (1) complete with rubber gaiter and top up the level of brake fluid in the reservoir.
Connect the brake bleeding device to the bleed screw on the brake calliper.
Open the bleed screw by half a turn.
Caution! While bleeding the system, do not allow the brake fluid level to drop below the centre of the sight glass (arrow), as otherwise air will be drawn into the brake system. Bleed the system again if this happens.
Draw off brake fluid until it emerges clear and free from air bubbles.
Tighten the bleed screw.
Installation is the reverse of the removal procedure: pay particular attention to the following.
Before reassembling, carefully wipe the rim of the reservoir, the rubber gaiter and the cover to remove all traces of brake fluid.
Brake fluid grade: DOT 4
Tightening torques:
- Bleed screw 7 Nm
Changing brake fluid (rear brake)
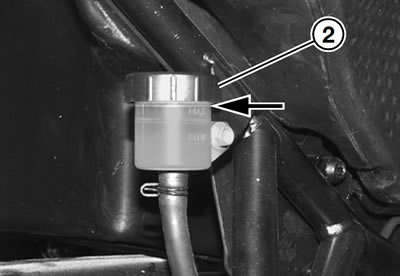
Remove cover (2) complete with rubber gaiter and top up the level of brake fluid in the reservoir.
Connect the brake bleeding device to the bleed screw on the brake calliper.
Open the bleed screw by half a turn.
Caution! Brake fluid level must not drop below the MIN mark during the bleeding process, otherwise air will be drawn into the brake system. Bleed the system again if this happens.
Draw off brake fluid until it emerges clear and free from air bubbles.
Tighten the bleed screw.
Installation is the reverse of the removal procedure: pay particular attention to the following.
Before reassembling, carefully wipe the rim of the reservoir, the rubber gaiter and the cover to remove all traces of brake fluid.
Brake fluid grade: DOT 4
Tightening torques:
- Bleed screw: 7 Nm