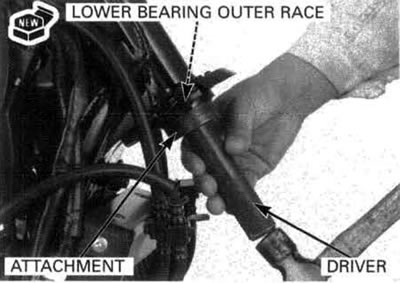
Drive a new lower bearing outer race into the steering head pipe using the special tools.
Tools:
- Driver 07749-0010000
- Attachment, 52x55 mm 07746-0010400
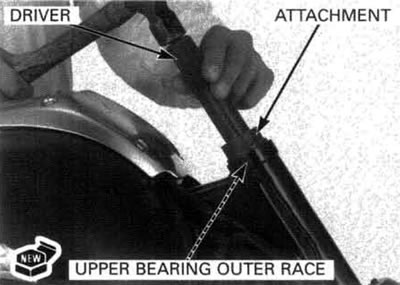
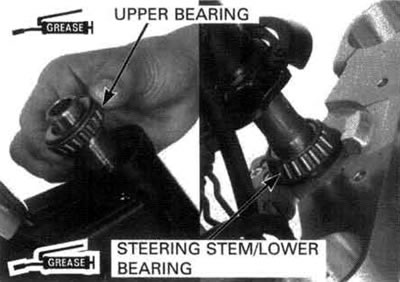
Drive a new upper bearing outer race into the steering head pipe using the special tools.
Tools:
- Driver 07749-0010000
- Attachment, 42x47 mm 07746-0010300
Apply 3 g (0.11 oz) of grease to the upper and lower bearings.
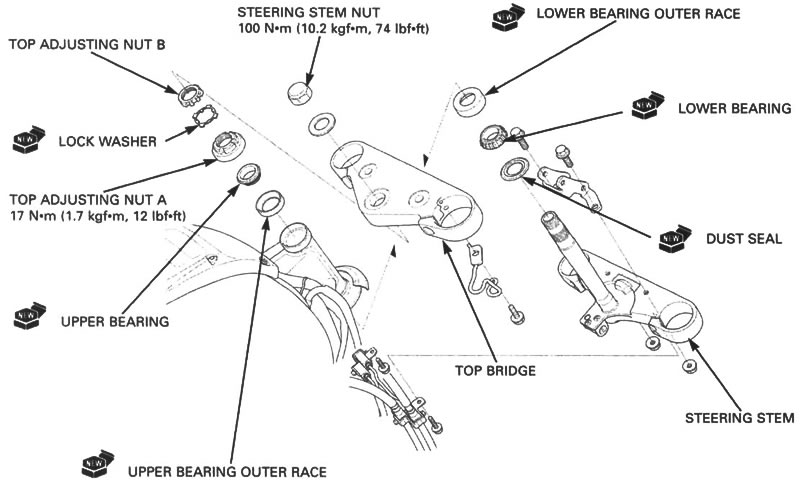
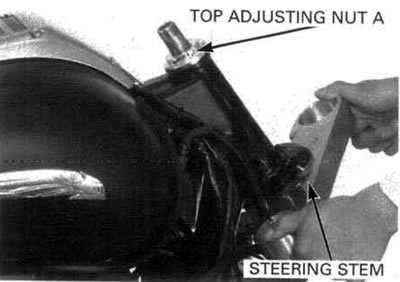
Install the steering stem into the steering head pipe.
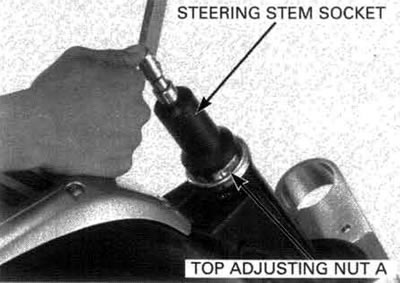
Apply engine oil to the threads of top adjusting nut A.
1. Tighten top adjusting nut A as follows:
Install and tighten top adjusting nut A to the specified torque.
Tool: Steering stem socket 07916-3710100.
Torque: 40 N·m (4.1 kgf·m, 30 lbf·ft).
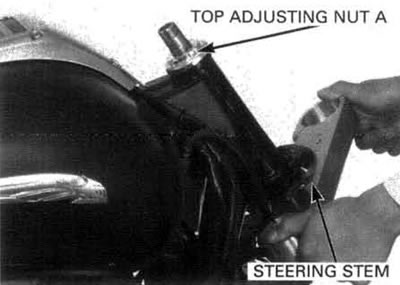
2. Move the steering stem to the right and left, lock-to-lock, five times to seat the bearings.
Make sure the steering stem moves smoothly, without play or binding; then loosen top adjusting nut A.
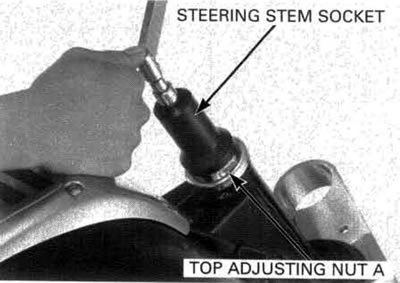
3. Retighten top adjusting nut A to the specified torque.
Tool: Steering stem socket 07916-3710100.
Torque: 17 N·m (1.7 kgf·m, 12 lbf·ft).
4. Move the steering stem to the right and left, lock-to-lock, five times to seat the bearings and then retighten top adjusting nut A to the same torque.
5. Repeat step 4 several times to seat the bearings.
Make sure the steering stem moves smoothly, without play or binding.
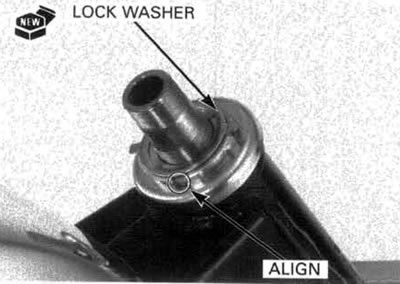
Install a new lock washer onto the steering stem.
Align the tabs of the lock washer with the grooves in top adjusting nut A and bend two opposite tabs (shorter) down into the groove in top adjusting nut A.
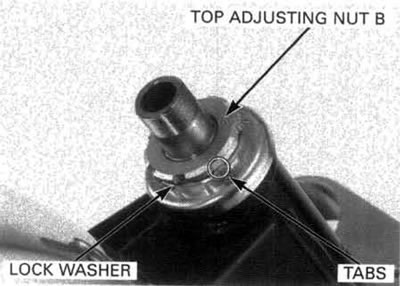
Install and finger tighten top adjusting nut B.
Hold top adjusting nut A and further tighten top adjusting nut В within 1/4 of a turn (90°) enough to align its grooves with the lock washer tabs.
Bend the lock washer tabs up into the groove in top adjusting nut B.
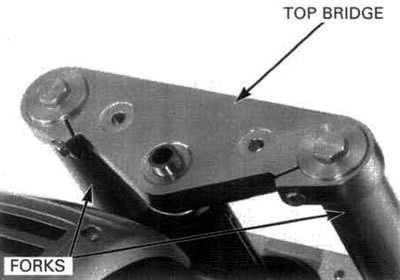
Install the top bridge.
Install the fork legs (page 13-32).
Install the washer.
Install and tighten the steering stem nut to the specified torque.
Torque: 100 N·m (10.2 kgf·m, 74 lbf·ft).
Make sure the steering stem moves smoothly without play or binding.

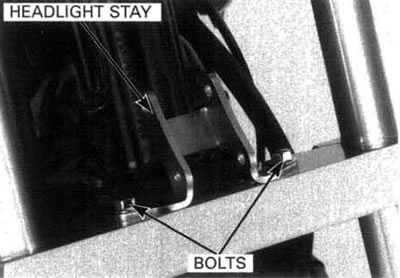
Install the headlight stay and tighten the bolts securely.
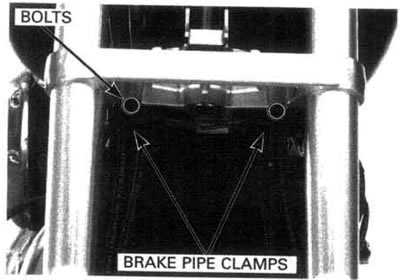
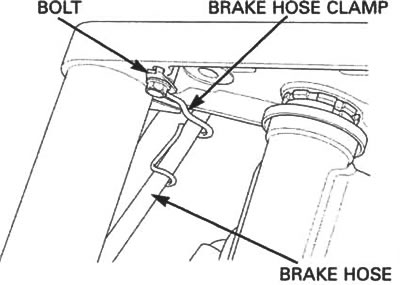
Install the brake hose clamp and tighten the bolt securely.
Install the front brake hose clamps with the bolts.
Install the following:
- front wheel (page 13-13)
- turn signal assembly (page 19-5)
- handlebar (page 13-5)
- headlight and headlight case (page 19-5)