Before assembly, wash all parts with a high flash or non-flammable solvent and wipe them dry.
Wrap the end of the slider with tape.
Coat the oil seal lips with the recommended fork fluid.
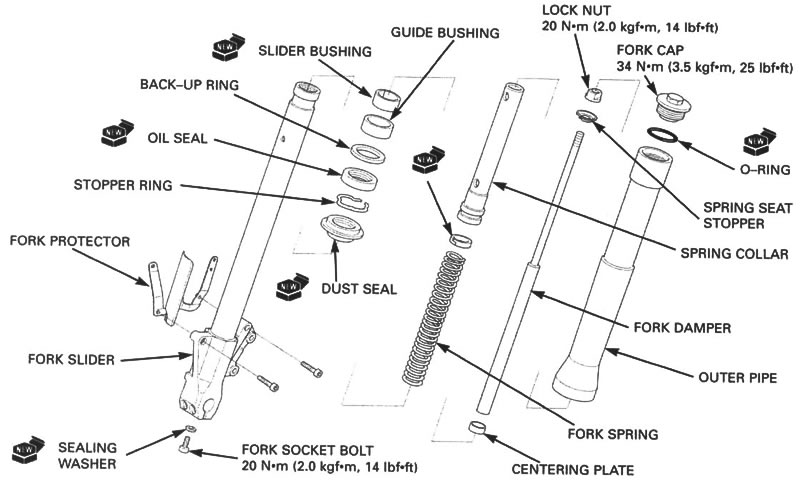
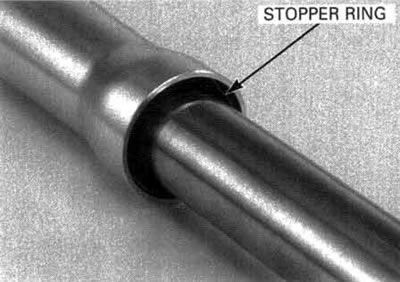
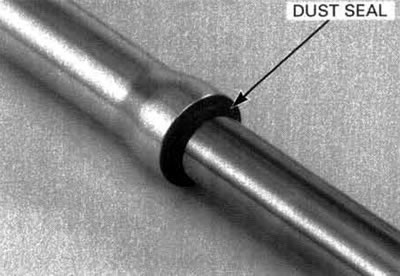
Install new dust seal, stopper ring and new oil seal.
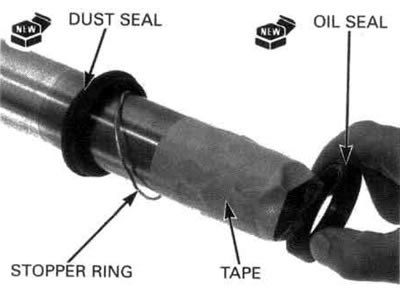
Install the oil seal with its marked side facing up.
Install the back-up ring, guide bushing and new slider bushing.
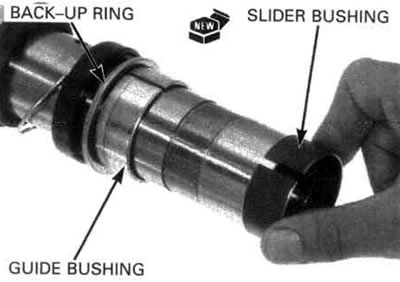
Apply the recommended fork fluid to the slider bushing and guide bushing.
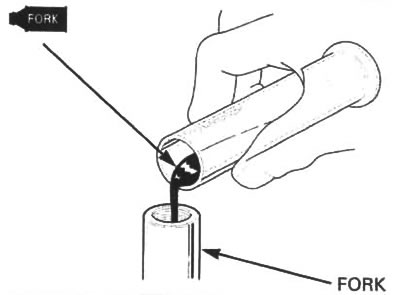
Install the fork slider into the outer pipe.

Drive the oil seal in using the special tools.
Tool: Fork seal driver, 45 mm 07KMD-KZ30100.
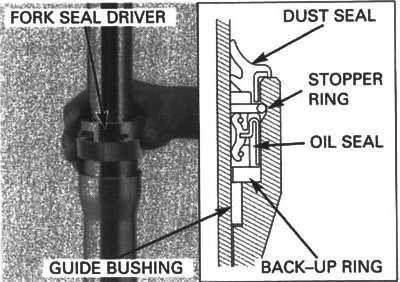
Install the stopper ring into the groove in the outer pipe.
Install the dust seal.
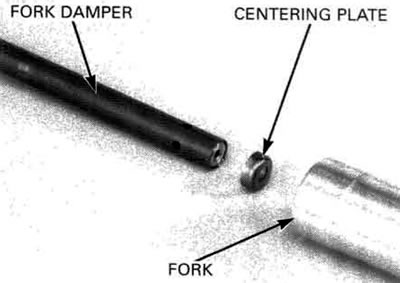
Install the centering plate to the fork damper.
Install the fork damper into the fork.
Hold the fork slider in a vise with soft jaws or a shop towel.
Clean and apply a locking agent to the fork socket bolt threads.
Install the fork socket bolt with a new sealing washer.
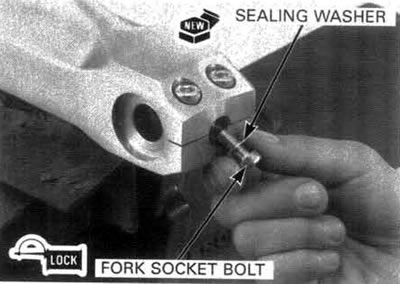
Tighten the fork socket bolt to the specified torque.
Torque: 20 N·m (2.0 kgf·m, 14 lbf·ft).

If the fork damper turns with the socket bolt, temporarily install the spring collar, spring seat stopper and fork cap.
Pour the specified amount of the recommended fork fluid into the fork.
Recommended fork fluid: Pro Honda Suspension Fluid SS-8.
Fork fluid capacity: 686±2.5 cm3 (23.2±0.08 US oz, 24.1±0.09 Imp oz).
Pump the damper rod several times.
Measure the oil level from the top of the outer pipe while compressing the outer pipe all the way after stroking the outer pipe slowly more than 5 times and the damper rod more than 10 times.
Fork fluid level: 111 mm (4.4 in).
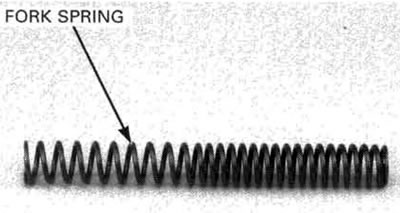
Wipe off any excessive fluid from fork spring and collar.
Install the fork spring with its tapered end facing up.
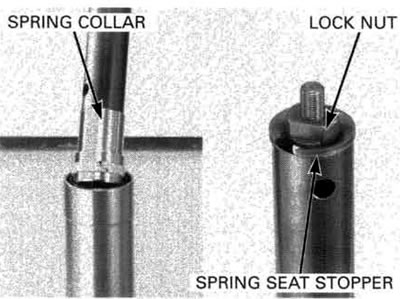
Install the lock nut to the damper rod.
Attach a 600 mm (2 feet) length of mechanic's wire to the lock nut on the damper rod.
Pull the outer pipe up and install the spring collar.
While pushing down the spring collar down and install the spring seat stopper.
Remove the mechanic's wire from the damper rod.
Screw the damper rod lock nut fully by hand.
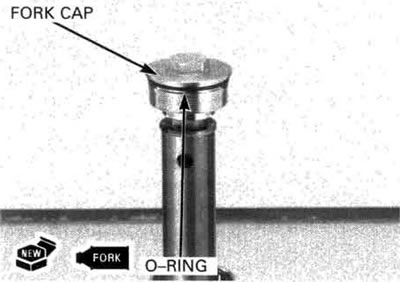
Apply the recommended fork fluid to the new O-ring and install it onto the fork cap.
Install the fork cap to the damper rod.
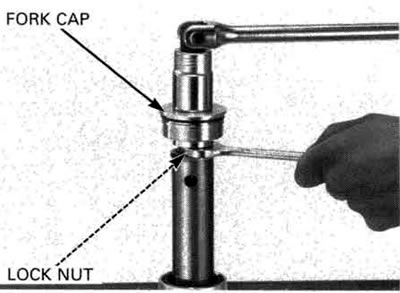
Hold the fork cap and tighten the lock nut to the specified torque.
Torque: 20 N·m (2.0 kgf·m, 14 lbf·ft).
Screw the fork cap into the outer pipe.
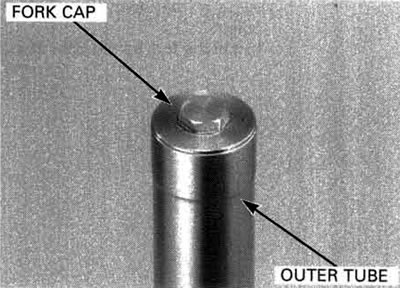
Tighten the fork cap after installing the fork into the top bridge.
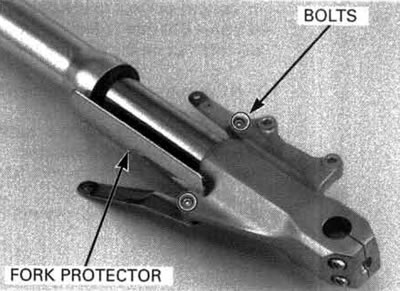
Install the fork protector and tighten the bolts securely.