Conrod small end I.D.
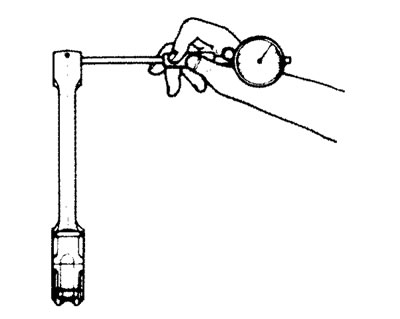
- Using a small bore gauge, measure the inside diameter of the conrod small end.
Conrod small end I.D.:
- Service Limit: 23.040 mm (0.9071 in)
- 09900-20602: Dial gauge (1/1000 mm, 1 mm)
- 09900-22403: Small bore gauge (18 - 35 mm)
- If the inside diameter of the conrod small end exceeds the limit, replace the conrod.
Conrod big end side clearance
- Inspect the conrod side clearance by using a thickness gauge.
- If the clearance exceeds the limit, remove the conrod and inspect the conrod big end width and the crank pin width.
- If the width exceed the limit, replace conrod or crankshaft.
Conrod big end side clearance:
- Service Limit: 0.30 mm (0.012 in)
- 09900-20803: Thickness gauge
Conrod big end width:
- Standard: 23.95 - 24.00 mm (0.943 - 0.945 in)
- 09900-20205: Micrometer (0 - 25 mm)
Crank pin width:
- Standard: 24.10 - 24.15 mm (0.949 - 0.951 in)
- 09900-20605: Dial calipers (1/100 mm, 10 - 34 mm)

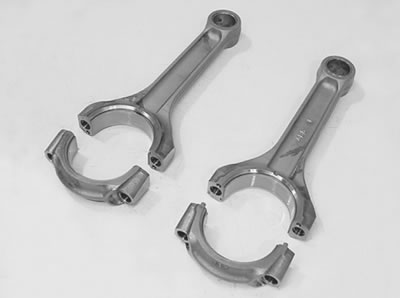
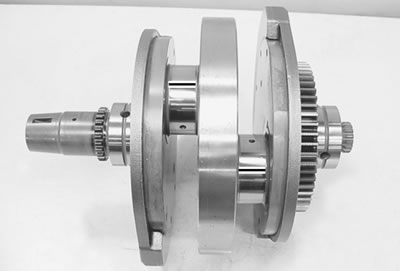
Conrod-crank pin bearing inspection
- Loosen the bearing cap bolts, and tap the bearing cap bolt lightly with plastic mallet to remove the bearing cap.
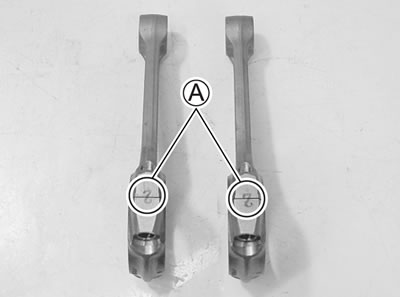
- Remove the conrods, and mark them to identify the cylinder position.
- Inspect the bearing surfaces for any sign of fusion, pitting, burn, or flaws. If any, replace them with a specified set of bearings.
Conrod-big end bearing selection
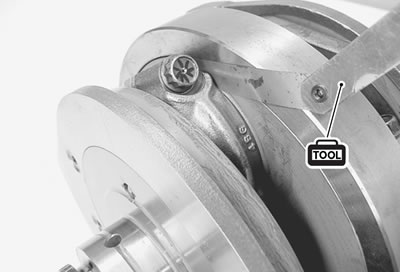
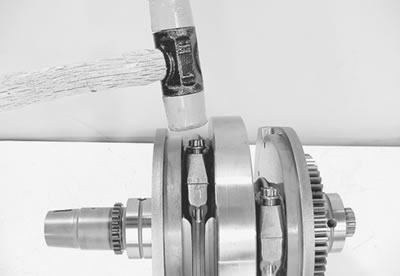
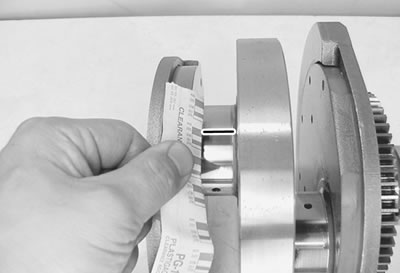
- Place the plastigauge axially along the crank pin, avoiding the oil hole, as shown.
- 09900-22301: Plastigauge
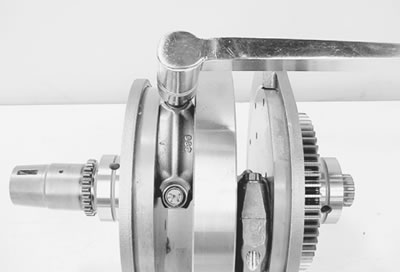
- Tighten the conrod cap bolts to the specified torque, in two stages. (3-73)
Caution:
- Apply engine oil to the bearing cap bolt.
- Never rotate the crankshaft or conrod when a piece of plastigauge is installed.
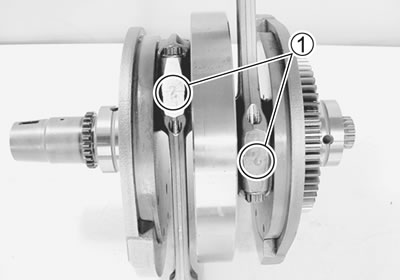
- The number faces the intake side 1.
- Remove the bearing caps and measure the width of the compressed plastigauge using the envelope scale. This measurement should be taken at the widest part of the compressed plastigauge.
Conrod big end oil clearance:
- Standard: 0.032 - 0.056 mm (0.0013 - 0.0022 in)
- Service Limit: 0.080 mm (0.0031 in)
- If the oil clearance exceeds the service limit, select the specified bearings from the bearing selection table.
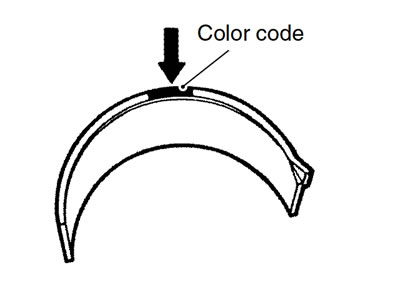
- Check the corresponding conrod I.D. code number ("1" or "2") А.
- Check the corresponding crank pin O.D. code number ("1", "2" or "3") В.
Bearing selection table
| Crank pin O.D. В | ||||
| Code | 1 | 2 | 3 | |
| Conrod I.D. А | 1 | Green | Black | Brown |
| 2 | Black | Brown | Yellow | |
Conrod I.D.
| Code | I.D. specification |
| 1 | 58.000 - 58.008 mm (2.2835 - 2.2838 in) |
| 2 | 58.008 - 58.016 mm (2.2838 - 2.2841 in) |
Crank pin O.D.
| Code | I.D. specification |
| 1 | 58.000 - 58.008 mm (2.2835 - 2.2838 in) |
| 2 | 58.008 - 58.016 mm (2.2838 - 2.2841 in) |
- 09900-20202: Micrometer (25 - 50 mm)
Bearing thickness
| Color (Part No.) | Thickness |
| Green (12164-48G00-0A0) | 1.480 - 1.484 mm (0.0583 - 0.0584 in) |
| Black (12164-48G00-0B0) | 1.484 - 1.488 mm (0.0584 - 0.0586 in) |
| Brown (12164-48G00-0C0) | 1.488 - 1.492 mm (0.0586 - 0.0587 in) |
| Yellow (12164-48G00-0D0) | 1.492 - 1.496 mm (0.0587 - 0.0589 in) |
Caution: The bearings must be replaced as a set.
Installation
- When fitting the bearings to the bearing cap and conrod, be sure to fix the stopper part А first, and press in the other end.
- Apply a MOLYBDENUM OIL SOLUTION to the crank pin and bearing surface.
Molybdenum oil solution
Caution: Be sure to clean the conrod big end.
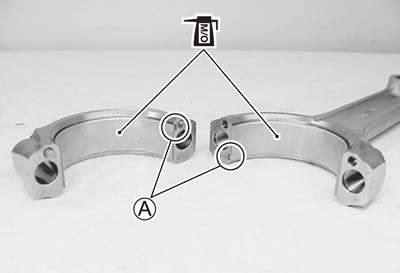
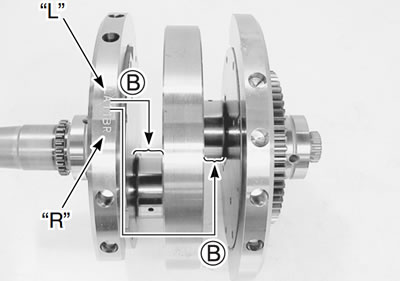
- When fitting the conrod cap, make sure that I.D. code В on each conrod faces intake side.

- Apply engine oil to the bearing cap bolts.
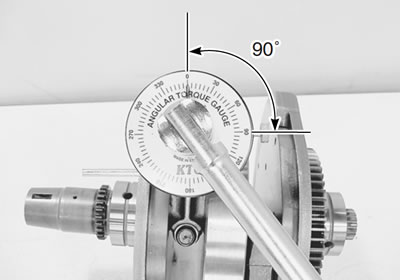
- Tighten the bearing cap bolts as following two steps.
Conrod bearing cap bolt:
- (Initial) : 35 Nm (3.5 kgf·m, 25.5 lb·ft)
- (Final) : After tightening the bolts to the above torque, tighten them 1/4 of a turn (90°).
- Check the conrod movement for smooth turning.