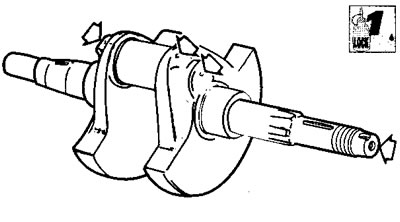
- Maximum oval: 0.01 mm/0.0004 in.
- Maximum taper: 0.01 mm/0.0004 in.

Use a dial gauge to measure the alignment of the main bearings, positioning the shaft between two centres: maximum error: 0.02 mm/0.0008 in.

Two types of crankshaft are supplied (connecting rod bearings) A and В punched on the pinion side.
| class | connecting rod bearing nominal diameter |
| A | 42.006-42.014 mm |
| В | 41.998-42.006 mm |
Remove the screw plugs and thoroughly clean the oil ways with compressed air.
Put a few drops of low-strength thread locker on both the thread of the plug which closes the inner hole of the connecting rod bearing and on the three threaded plugs. Then refit them.
Half bearing-connecting rod bearing coupling
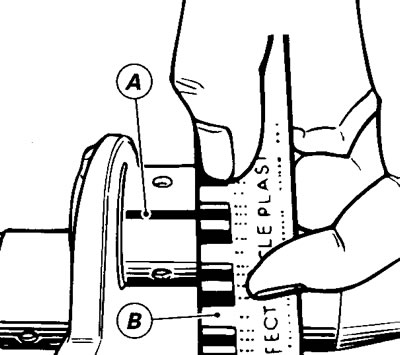
To check the coupling clearance between the half bearings and the crankshaft, use a "Plastigage" bar (A) on the connecting rod bearing.

Fit the connecting rod with the original half bearings and tighten the screws at a torque of 49 Nm.
Remove the connecting rod and check the thickness of the bar using the appropriate reference line (B).
Connecting rod half bearings -crankshaft bearing coupling clearance: 0.025-0.059 mm/ 0.00098-0.00232 in.
If the thickness measured, which is the current clearance, is not within the set limits, change the half bearings or the crankshaft.
