
Removal
Warning: Before starting work, ensure the motorcycle is stabilised and adequately supported. This will help prevent it from falling and causing injury to the operator or damage to the motorcycle.
1. Raise and support the rear of the motorcycle to allow removal of the rear wheel.
Warning: If the engine has recently been running, the exhaust system will be hot. Before working on or near the exhaust system, allow sufficient time for the exhaust system to cool as touching any part of a hot exhaust system could cause burn injuries.
2. Remove and discard the nut from the rear wheel spindle. Collect the left hand chain adjuster block.
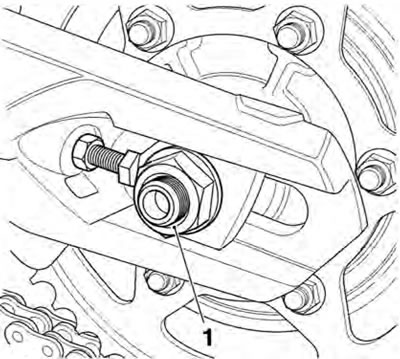
1. Rear wheel spindle nut
3. Support the wheel and withdraw the wheel spindle. Collect the right hand chain adjuster block from the spindle.
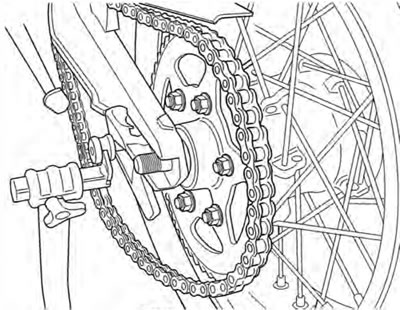
4. Roll the wheel forward until the chain can be detached from the rear sprocket.
5. The rear caliper and caliper carrier will remain in position on the swinging arm when the wheel is removed.
Warning: Do not allow the caliper to hang on the brake hose as this may damage the hose. Damaged hoses could cause brake failure leading to loss of control and an accident.
6. Withdraw the wheel and collect the flanged spacer from the right hand side and the plain spacer from the left hand side.
7. Place the wheel on wooden blocks with the drive sprocket uppermost.
8. Remove the final drive. (See page 15-17).
9. Reposition the wheel on wooden blocks with the rear brake disc uppermost.
10. If required, remove the rear brake disc and discard the disc bolts.
11. If required, remove the rear caliper and caliper carrier from the swinging arm.
Installation
1. Thoroughly clean and degrease the brake disc.
2. Fit the brake disc and tighten new disc bolts to 22 Nm.
3. Refit the final drive assembly (See page 15-17).
4. Position the wheel within the swinging arm and refit the chain to the final drive sprocket.
Fitting the Chain
5. Position the rear brake caliper and carrier to the swinging arm as noted prior to removal. Align the boss on the swinging arm with the slot on the carrier.

1. Caliper carrier slot; 2. Swinging arm boss
6. Refit the wheel spacers, flanged spacer to the right hand side (flange facing outwards) and plain spacer to the left.
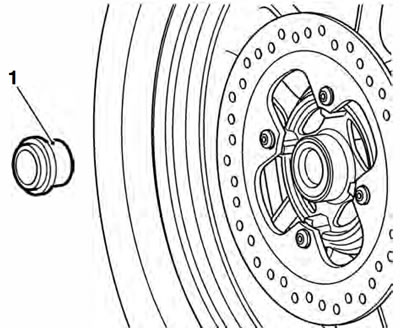
1. Wheel spacer (right hand shown)
7. Lift the rear wheel into position, aligning the wheel, caliper carrier and swinging arm.
Warning: Check that the spacers are still correctly positioned. Incorrectly fitted wheel spacers will cause a dangerous riding condition leading to loss of motorcycle control and an accident.
8. Ensure the right hand chain adjuster block is installed on the wheel spindle.
9. Fit the wheel spindle with the threaded end facing to the left.
10. Fit the left hand chain adjuster block and a new rear wheel spindle nut.
11. Keeping the chain adjuster blocks in contact with the adjuster bolts, tighten the wheel spindle nut to 110 Nm.
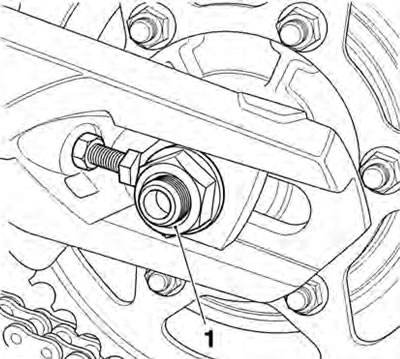
1. Rear wheel spindle nut
12. Lower the motorcycle to the ground.
Warning: lt is dangerous to operate the motorcycle with defective brakes; you must have your authorised Triumph dealer take remedial action before you attempt to ride the motorcycle again. Failure to take remedial action may reduce braking efficiency leading to loss of motorcycle control and an accident.
13. Check the operation of the rear brake.
14. Check and, if necessary, adjust the chain (see page 12-8).