Note. The following paragraphs deal with measuring the engine parts to see if they are worn.
Check that the walls are perfectly smooth.

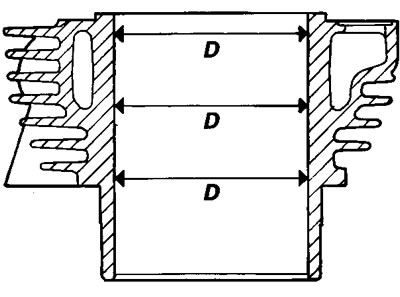
Measure the diameter of the cylinder (D) at three different heights and in two directions at 9CF from one another. This makes it possible to obtain the coupling, taper and oval values.
- Max. oval (wear limit): 0.03 mm/0.0012 in.
- Max. taper (wear limit): 0.03 mm/0.0012 in.
If the cylinder is damaged or excessively worn, it must be changed. It has a special silicon carbide inner lining (which gives the walls very high anti-friction and antiwear qualities) and therefore cannot be re-bored.

Note:
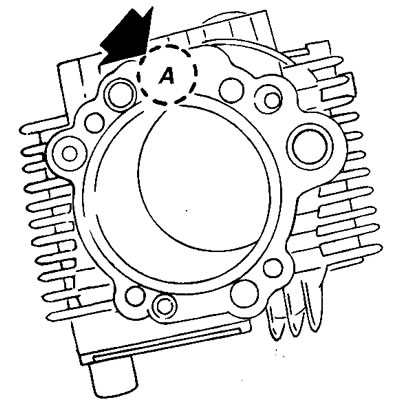
- The cylinders are marked by a letter which indicates the class they belong to (printed on the crown of the cylinder).
- The cylinder-piston coupling must only be made with cylinders and pistons belonging to the same class.
