
General
This procedure is shown with the engine removed. The shift shaft and seal may be replaced without removing the engine from the chassis.
Removal
Warning! Always wear proper eye protection when installing retaining rings. Use the correct retaining ring pliers. Verify that the tips of the pliers are not damaged or excessively worn. Slippage may propel the ring with enough force to cause eye injury.
1. See Figure 3-182. Remove the outer snap ring (zinc plated).
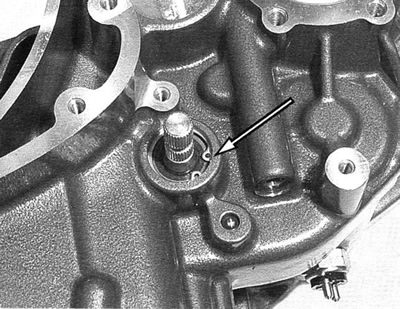
Figure 3-182. Shift shaft outer retaining ring
2. See Figure 3-183. Drill small hole in the shift shaft seal. Thread sheet metal screw into the hole.
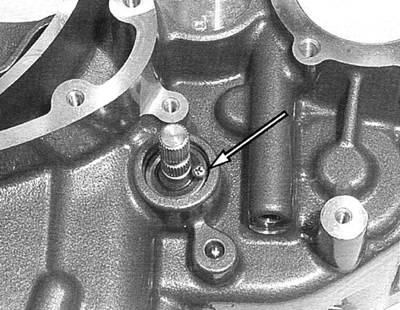
Figure 3-183. Shift shaft seal
3. See Figure 3-184. Gently pry seal from engine case.
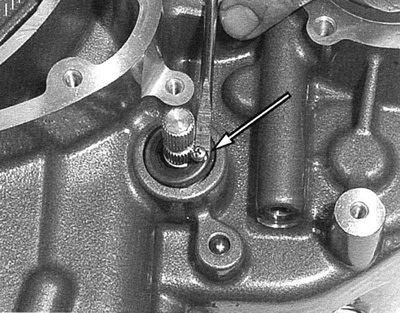
Figure 3-184. Shift shaft seal removal
Warning! Always wear proper eye protection when installing retaining rings. Use the correct retaining ring pliers. Verify that the tips of the pliers are not damaged or excessively worn. Slippage may propel the ring with enough force to cause eye injury.
4. See Figure 3-185. With the shaft seal removed, the inner retaining ring (black) is exposed. Remove the retaining ring.
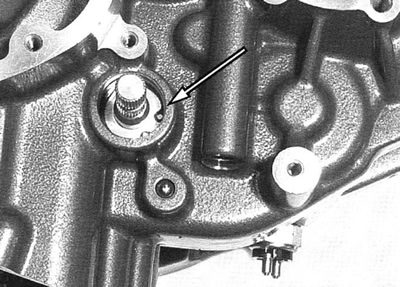
Figure 3-185. Shift shaft inner retaining ring
5. Remove shift shaft using hand effort.
6. See Figure 3-186. The shift actuator is spring loaded and will move away from alignment with the case hole when the shift shaft is removed.
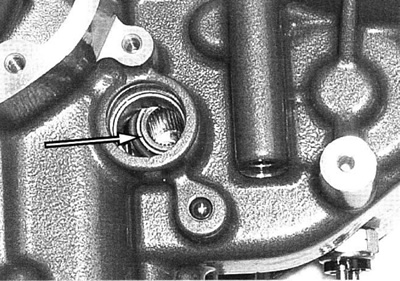
Figure 3-186. Shift actuator
Installation
| PART NO. | SPECIALTY TOOL |
| HD-45337 | Shift shaft seal installer |
1. See Figure 3-187. To insert shift shaft, use leading end of shift shaft to engage the shift actuator. Using hand pressure, center the shift shaft to engage the actuator splines. Seat shift shaft deep enough to expose inner retaining ring groove.
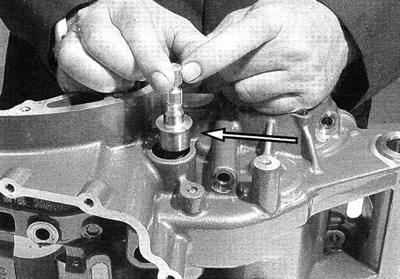
Figure 3-187. Shift shaft installation
Warning! Always wear proper eye protection when installing retaining rings. Use the correct retaining ring pliers. Verify that the tips of the pliers are not damaged or excessively worn. Slippage may propel the ring with enough force to cause eye injury.
Note. The inner (black) retaining ring and the outer (zinc plated) retaining ring are different in size by 1 mm.
2. Insert inner retaining ring (black).
3. See Figure 3-188. Lubricate shift shaft seal with Harley-Davidson Motorcycle Oil 20W50 and insert using SHIFT SHAFT SEAL INSTALLER (HD-45337).
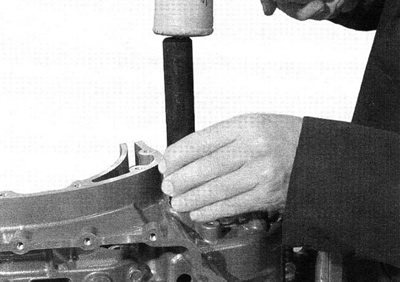
Figure 3-188. Shift shaft seal installation
4. Install outer retaining ring (zinc plated).